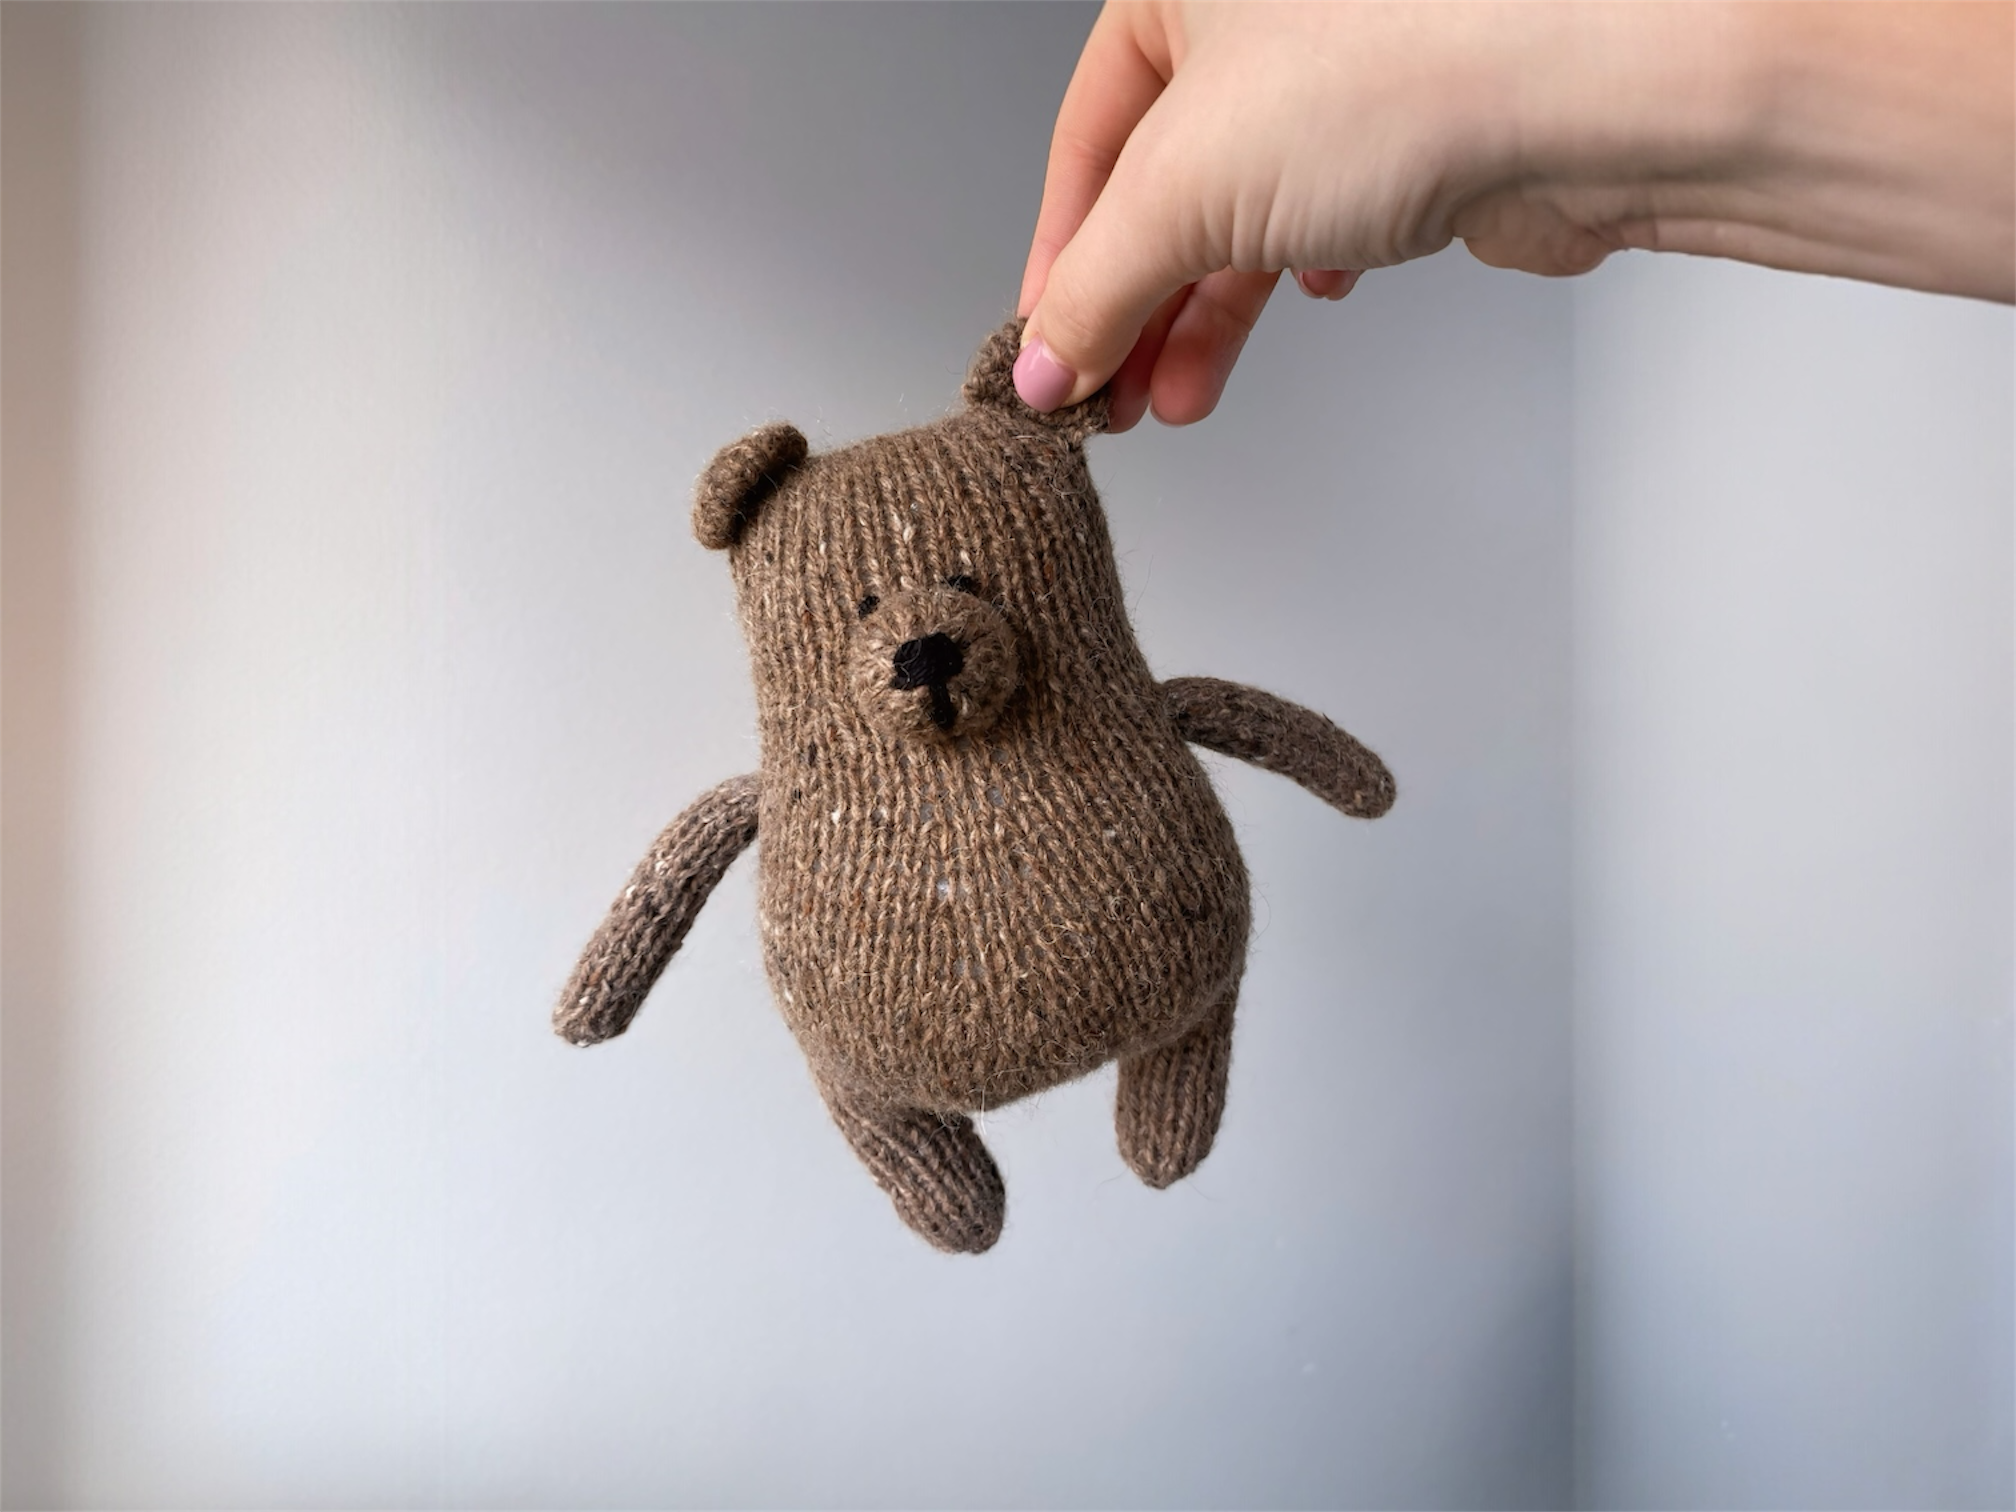
| Size: | the height of the toy may vary depending on the yarn used and the number of knitting needles |
| Needles: | straight needles 3.5 mm (long enough to hold all stitches comfortably) or circular needles 3.5 mm with a long cable for flat knitting or use knitting needles 1-1.5 sizes smaller than recommended for yarn |
| Materials: | 30 g yarn Drops Soft Tweed (50g/130m), black embroidery thread for eyes and nose or another yarn |
For example: 50g/130m Drops Soft Tweed on 3.50 mm needles produces a toy 17 cm high
The Little Teddy Bear is knitted flat in rows from the top down, in one piece from head to legs. The hands, nose and ears are worked separately and sewn on. Finishing includes seaming all parts with mattress stitch (or whipstitch where specified).
Cast on 32 stitches using your preferred cast-on method (I use the long-tail cast-on). The knitting begins with a wrong side (WS) row on the WS.
| Row 1 (WS): | purl 32 sts The first and last stitches are worked according to the pattern – this applies to all rows throughout the project. |
| Row 2 (RS): | k 5, M1L, k 8, M1L, k 7, M1L, k 8, M1L, k 4 – 36 sts |
| Rows 3‑19: | 36 sts in stockinette |
| Row 20 (RS): | k 5, M1L, k 9, M1L, k 8, M1L, k 9, M1L, k 5 – 40 sts |
| Rows 21‑23: | 40 sts in stockinette |
| Row 24 (RS): | k 5, M1L, k 10, M1L, k 9, M1L, k 10, M1L, k 6 – 44 sts |
| Row 25 (WS): | purl 44 sts |
| Row 26 (RS): | k 44 sts Mark the 11th and 12th stitches, and the 32th and 33th stitches. |
| Row 27 (WS): | purl 44 sts |
| Row 28 (RS): | k 11, M1L, k 10, M1R, k 2, M1L, k 10, M1L, k 11- 48 sts |
| Rows 29-31: | 48 sts in stockinette |
| Row 32 (RS): | k 23, M1R, k 2, M1L, k 23 – 50 sts |
| Rows 33-35: | 50 sts in stockinette |
| Row 36 (RS): | k 24, M1R, k 2, M1L, k 24 – 52 sts |
| Row 37 (WS): | purl 52 sts |
| Row 38 (RS): | k 25, M1R, k 2, M1L, k 25 – 54 sts |
| Rows 39‑43: | 54 sts in stockinette |
| Row 44 (RS): | k 4, ssk, k 12, k2tog, k 14, ssk, k 12, k2tog, k 4 – 50 sts |
| Rows 45‑47: | 50 sts in stockinette |
| Row 48 (RS): | k 18, [ ssk, k 2 ] x 2, k2tog, k 2, k2tog, k 18 – 46 sts |
| Row 49 (WS): | purl 46 sts |
| Row 50 (RS): | k 17, [ ssk] x 3, [ k2tog ]x 3, k 17 – 40 sts |
| Row 51 (WS): | purl 40 sts |
| Row 52 (WS): | bind off 4 stitches, k 13 stitches, bind off 6 stitches, k 13 stitches, bind off 4 stitches |
Cut the yarn, leaving a 30-35 cm tail. Next, continue with the legs.
Place the remaining 13 stitches on a holder, scrap yarn, or another needle. Join a new yarn. Start knitting from the right side.
| Rows 1-10: | 13 sts in stockinette |
| Row 11 (RS): | k 1, [ ssk, k 1] x 4 – 9 sts |
| Row 12 (WS): | purl 9 sts |
Break the yarn, leaving a 10–15 cm tail. Thread the yarn through the remaining 9 stitches, pull tight to close, secure, and weave in the end.
Repeat the process for the second leg.
Join a new yarn and work the second leg the same way as the first, starting from row 1. Break the yarn, leaving a 30-35 cm tail. Transfer 9 stitches onto the yarn using a yarn needle and pull tight.
Sewing along the back
Weave in the short tails inside the toy; leave the long tails for further seaming. You should be left with 2 working yarn tails.
Sew the body along the back using mattress stitch.
Seaming the bottom
Now move on to seaming the bottom. Seam from one leg to the other.
Sew the leg with mattress stitch, sew the center section (between the legs) using whipstitch, then sew the second leg with mattress stitch.
Stuff the bear and move on to sewing the upper part with a new yarn.
Sewing the upper part
Find 2 central stitches along which increases were made. Mark the middle.
Count 7 stitches to the right and insert the needle into the seventh stitch. On the other side: Skip 1 stitch, and insert the needle into the next stitch. (Watch here this moment.)
Sew the upper section using whipstitch.
Leave in tails inside the toy.
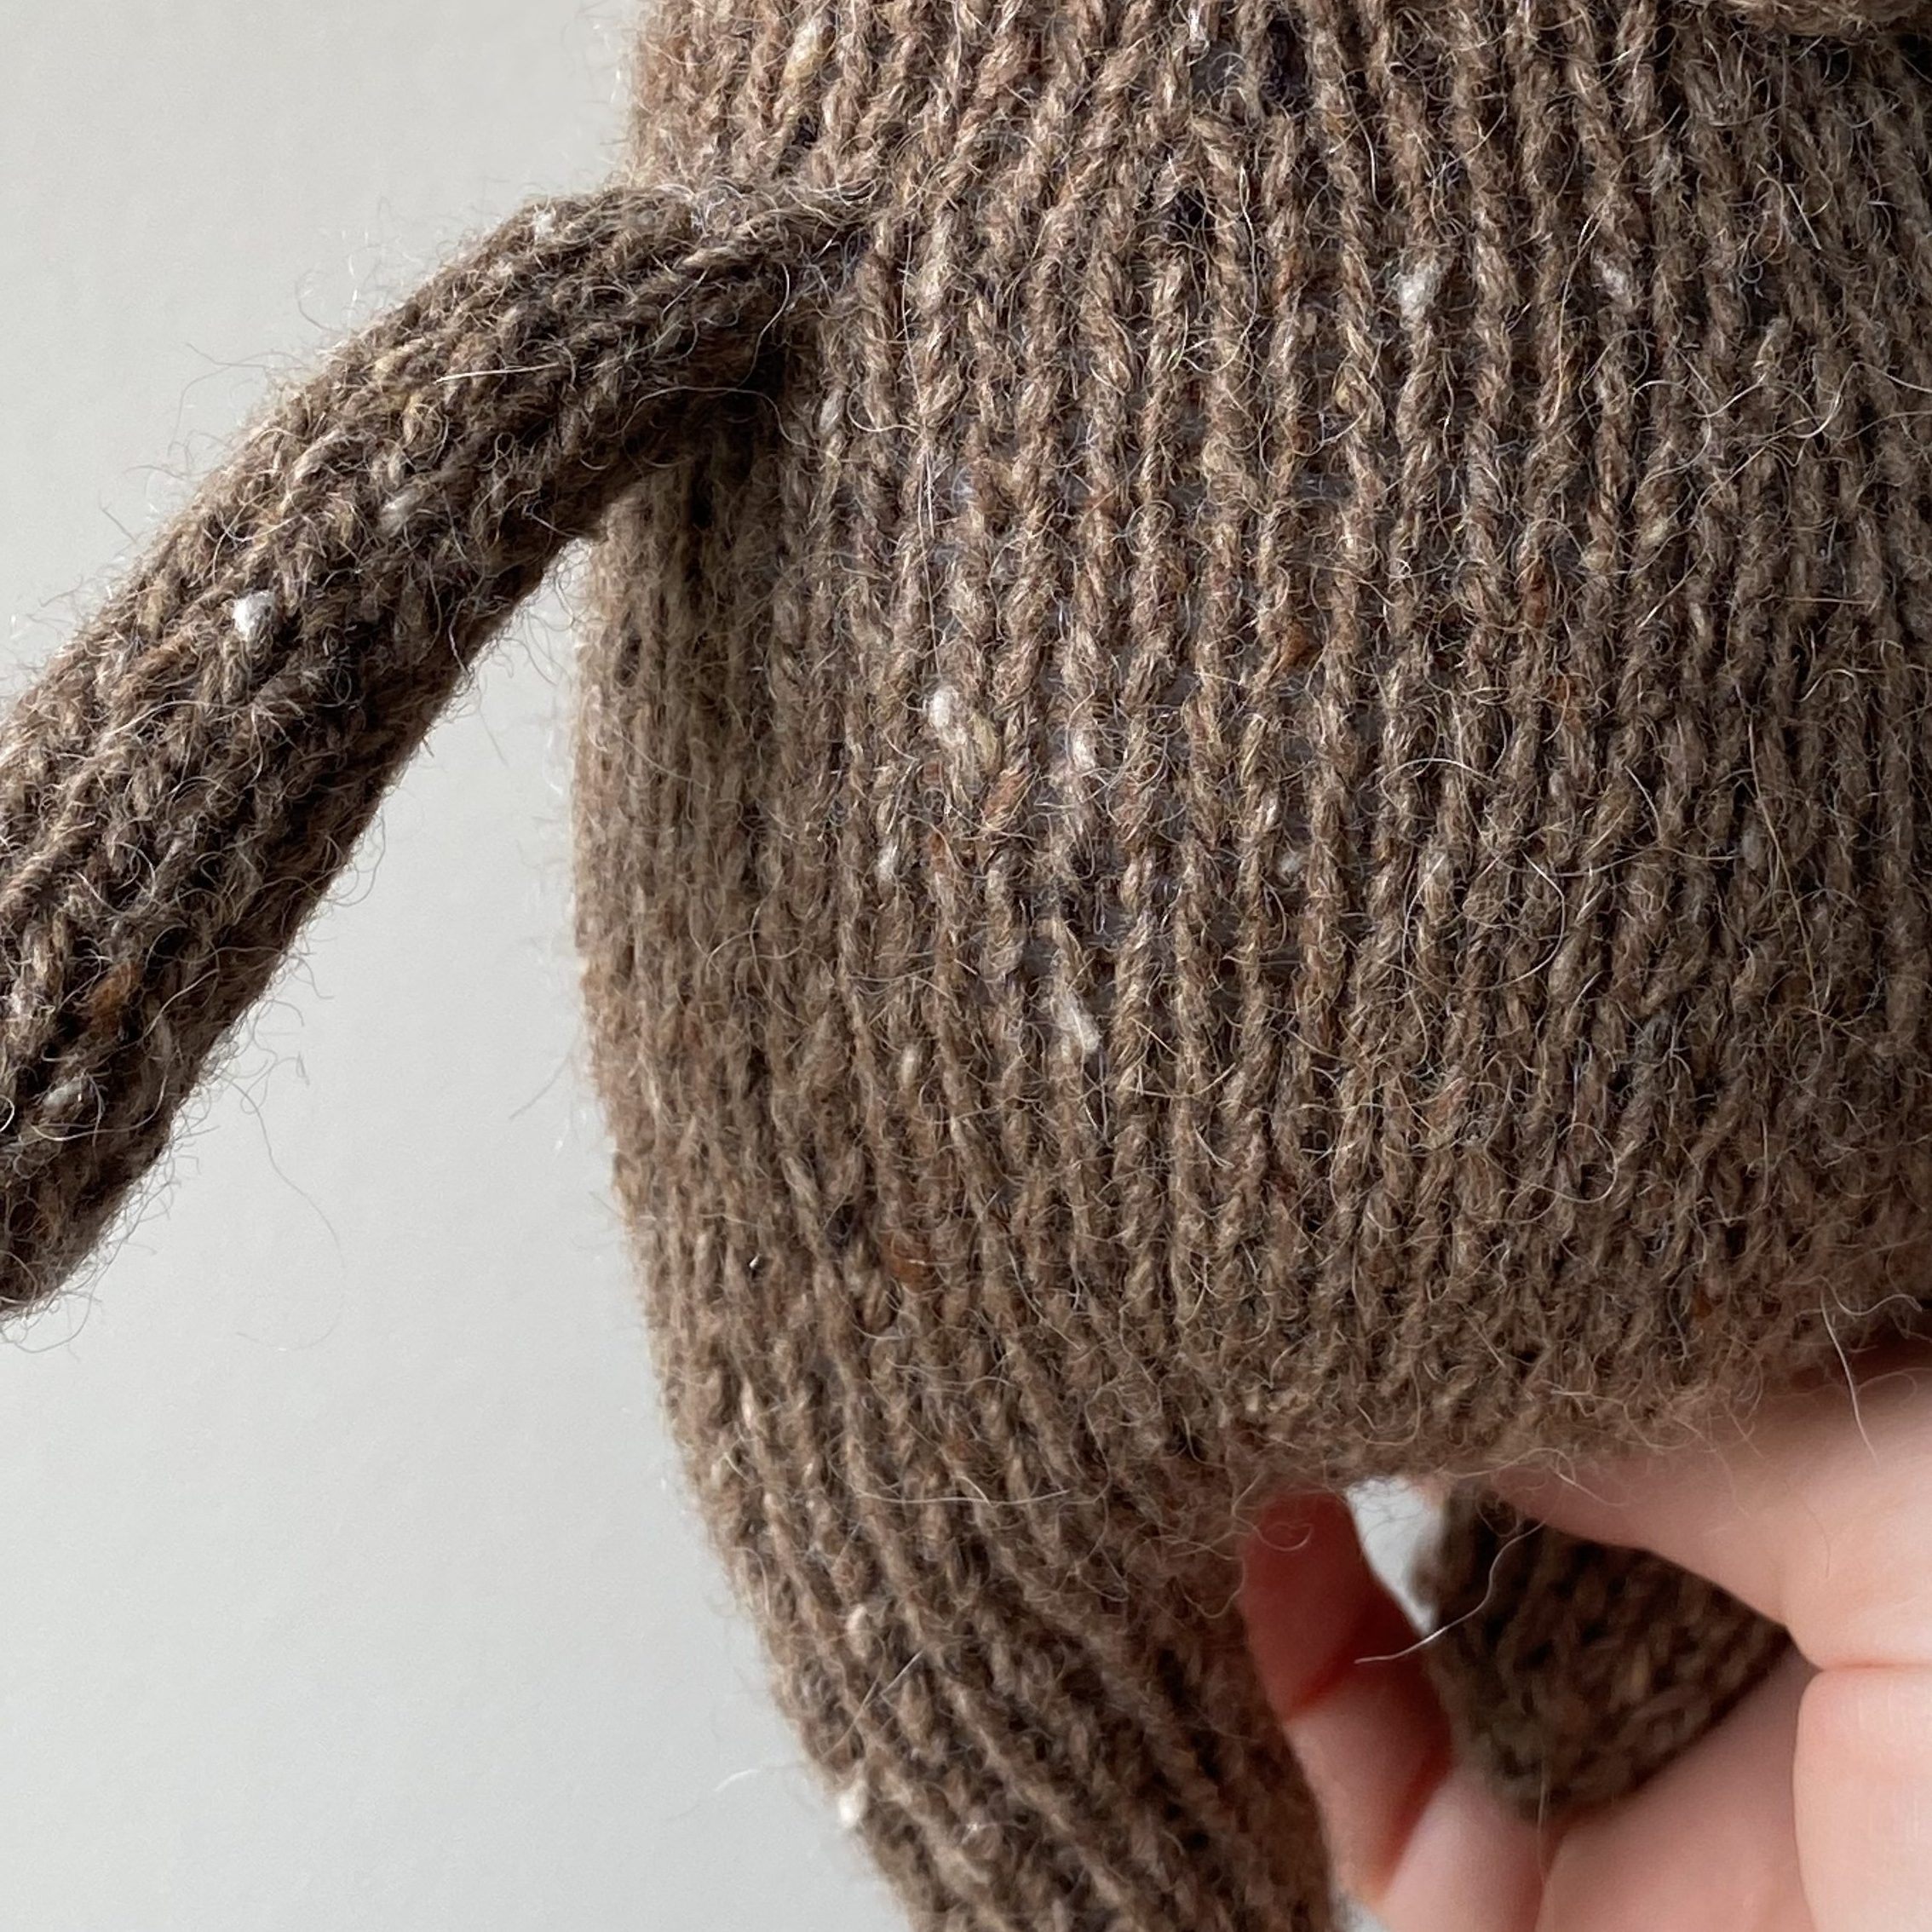
Hands
Cast on 6 stitches using your preferred cast-on method, leaving a 25-30 cm tail (this will be used later to sew the hand). I use long tail cast-on method. The knitting begins with a wrong side (WS) row on the WS.
| Row 1 (WS): | purl 6 sts |
| Row 2 (RS): | k 1, [ k 1, M1L ] x 4, k 1-10 sts |
| Rows 3‑21: | 10 sts in stockinette |
Transfer any 5 stitches to a separate needle. Fold the hand in half and k together the stitches from both needles and bind off.
Pull the lower end of the yarn through 6 stitches. Sew the hand using mattress stitch. Stuff the hand as sewing.
Knit the second hand the same way.
Sew the hands to the marked stitches using whipstitch.
Ears
Cast on 8 stitches using your preferred cast-on method, leaving a yarn tail of about 15–20 cm. I use long tail cast-on method. The knitting begins with a wrong side (WS) row on the WS.
| Rows 1‑10: | 8 sts in stockinette |
You should get a square shape (adjust the number of rows if necessary).
Break the yarn, leaving a 15–20 cm tail. Thread the yarn through the 8 stitches, pull tight, and secure.
Pull the yarn tail from the cast-on edge through the 8
stitches, pull tight, and secure.
Then tie the two yarn tails together — this will form a semicircle.
Knit the second ear the same way.Sew them on using any method you prefer.
Nose
Cast on 20 stitches using your preferred cast-on method (I use the long-tail cast-on). The knitting begins with a wrong side (WS) row on the WS.
| Rows 1-5: | 20 sts in stockinette |
| Row 6 (RS): | k 1, [ k 1, k2tog, k2tog, k 1 ] x 3, k 1 – 14 sts |
| Row 7 (WS): | p 1, [ p2tog ] x 6, p 1 – 8 sts |
Break the yarn, leaving a 20-25 cm tail. Pull the yarn through 8 stitches.
Sew the nose using mattress stitch.
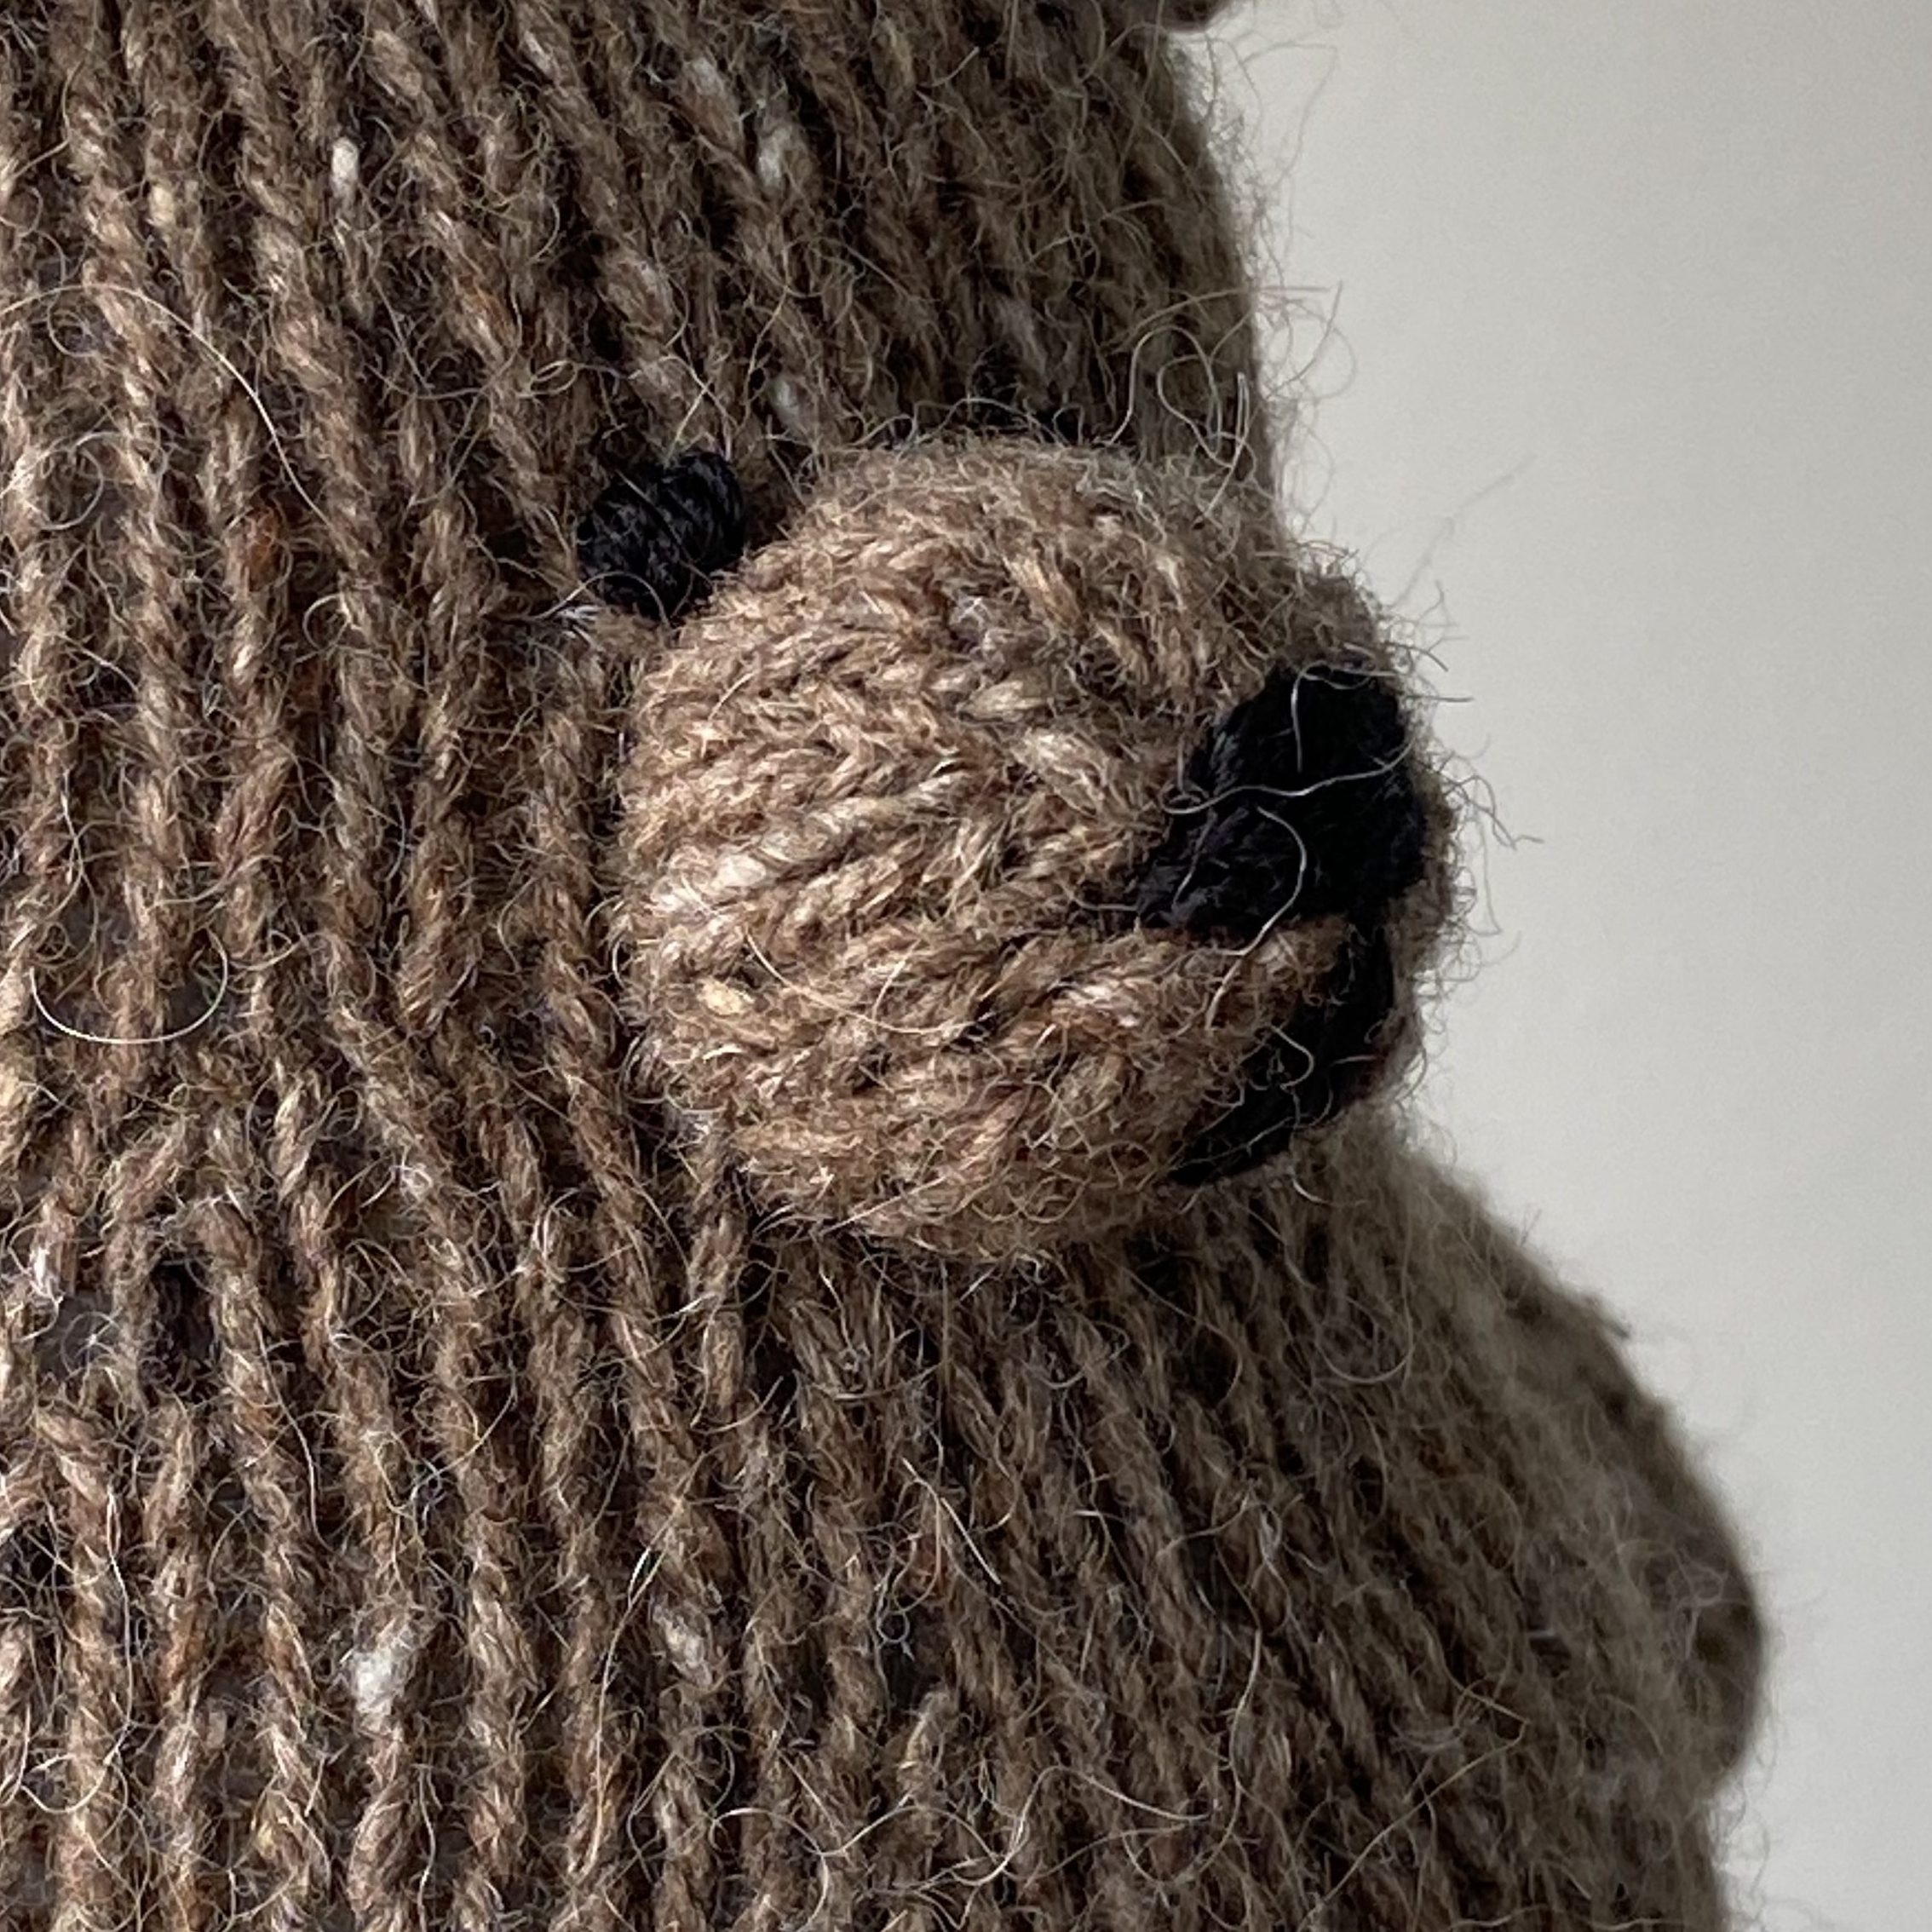
Stuff the nose and sew to the head using whipstitch.
Embroider the nose and eyes with black thread.
Abbreviations
| k | knit |
| p | purl |
| stockinette | stockinette stitches are made when you knit on the right side and purl on the wrong side |
| k2tog | knit 2 together (right-leaning decrease); |
| ssk | slip, slip, knit (left-leaning decrease); |
| p2tog | purl 2 together (right-leaning decrease); |
| ssp | slip, slip, purl (left-leaning decrease); |
| M1L | make 1 left (increase leaning to the left); |
| M1R | make 1 right (increase leaning to the right); |
| st(s) | stitch(es) |
| RS | right side |
| WS | wrong side |
| edge st | slip the first stitch of the row purlwise with yarn in front |
Like this pattern?
Consider buying me a coffee



Leave a Reply