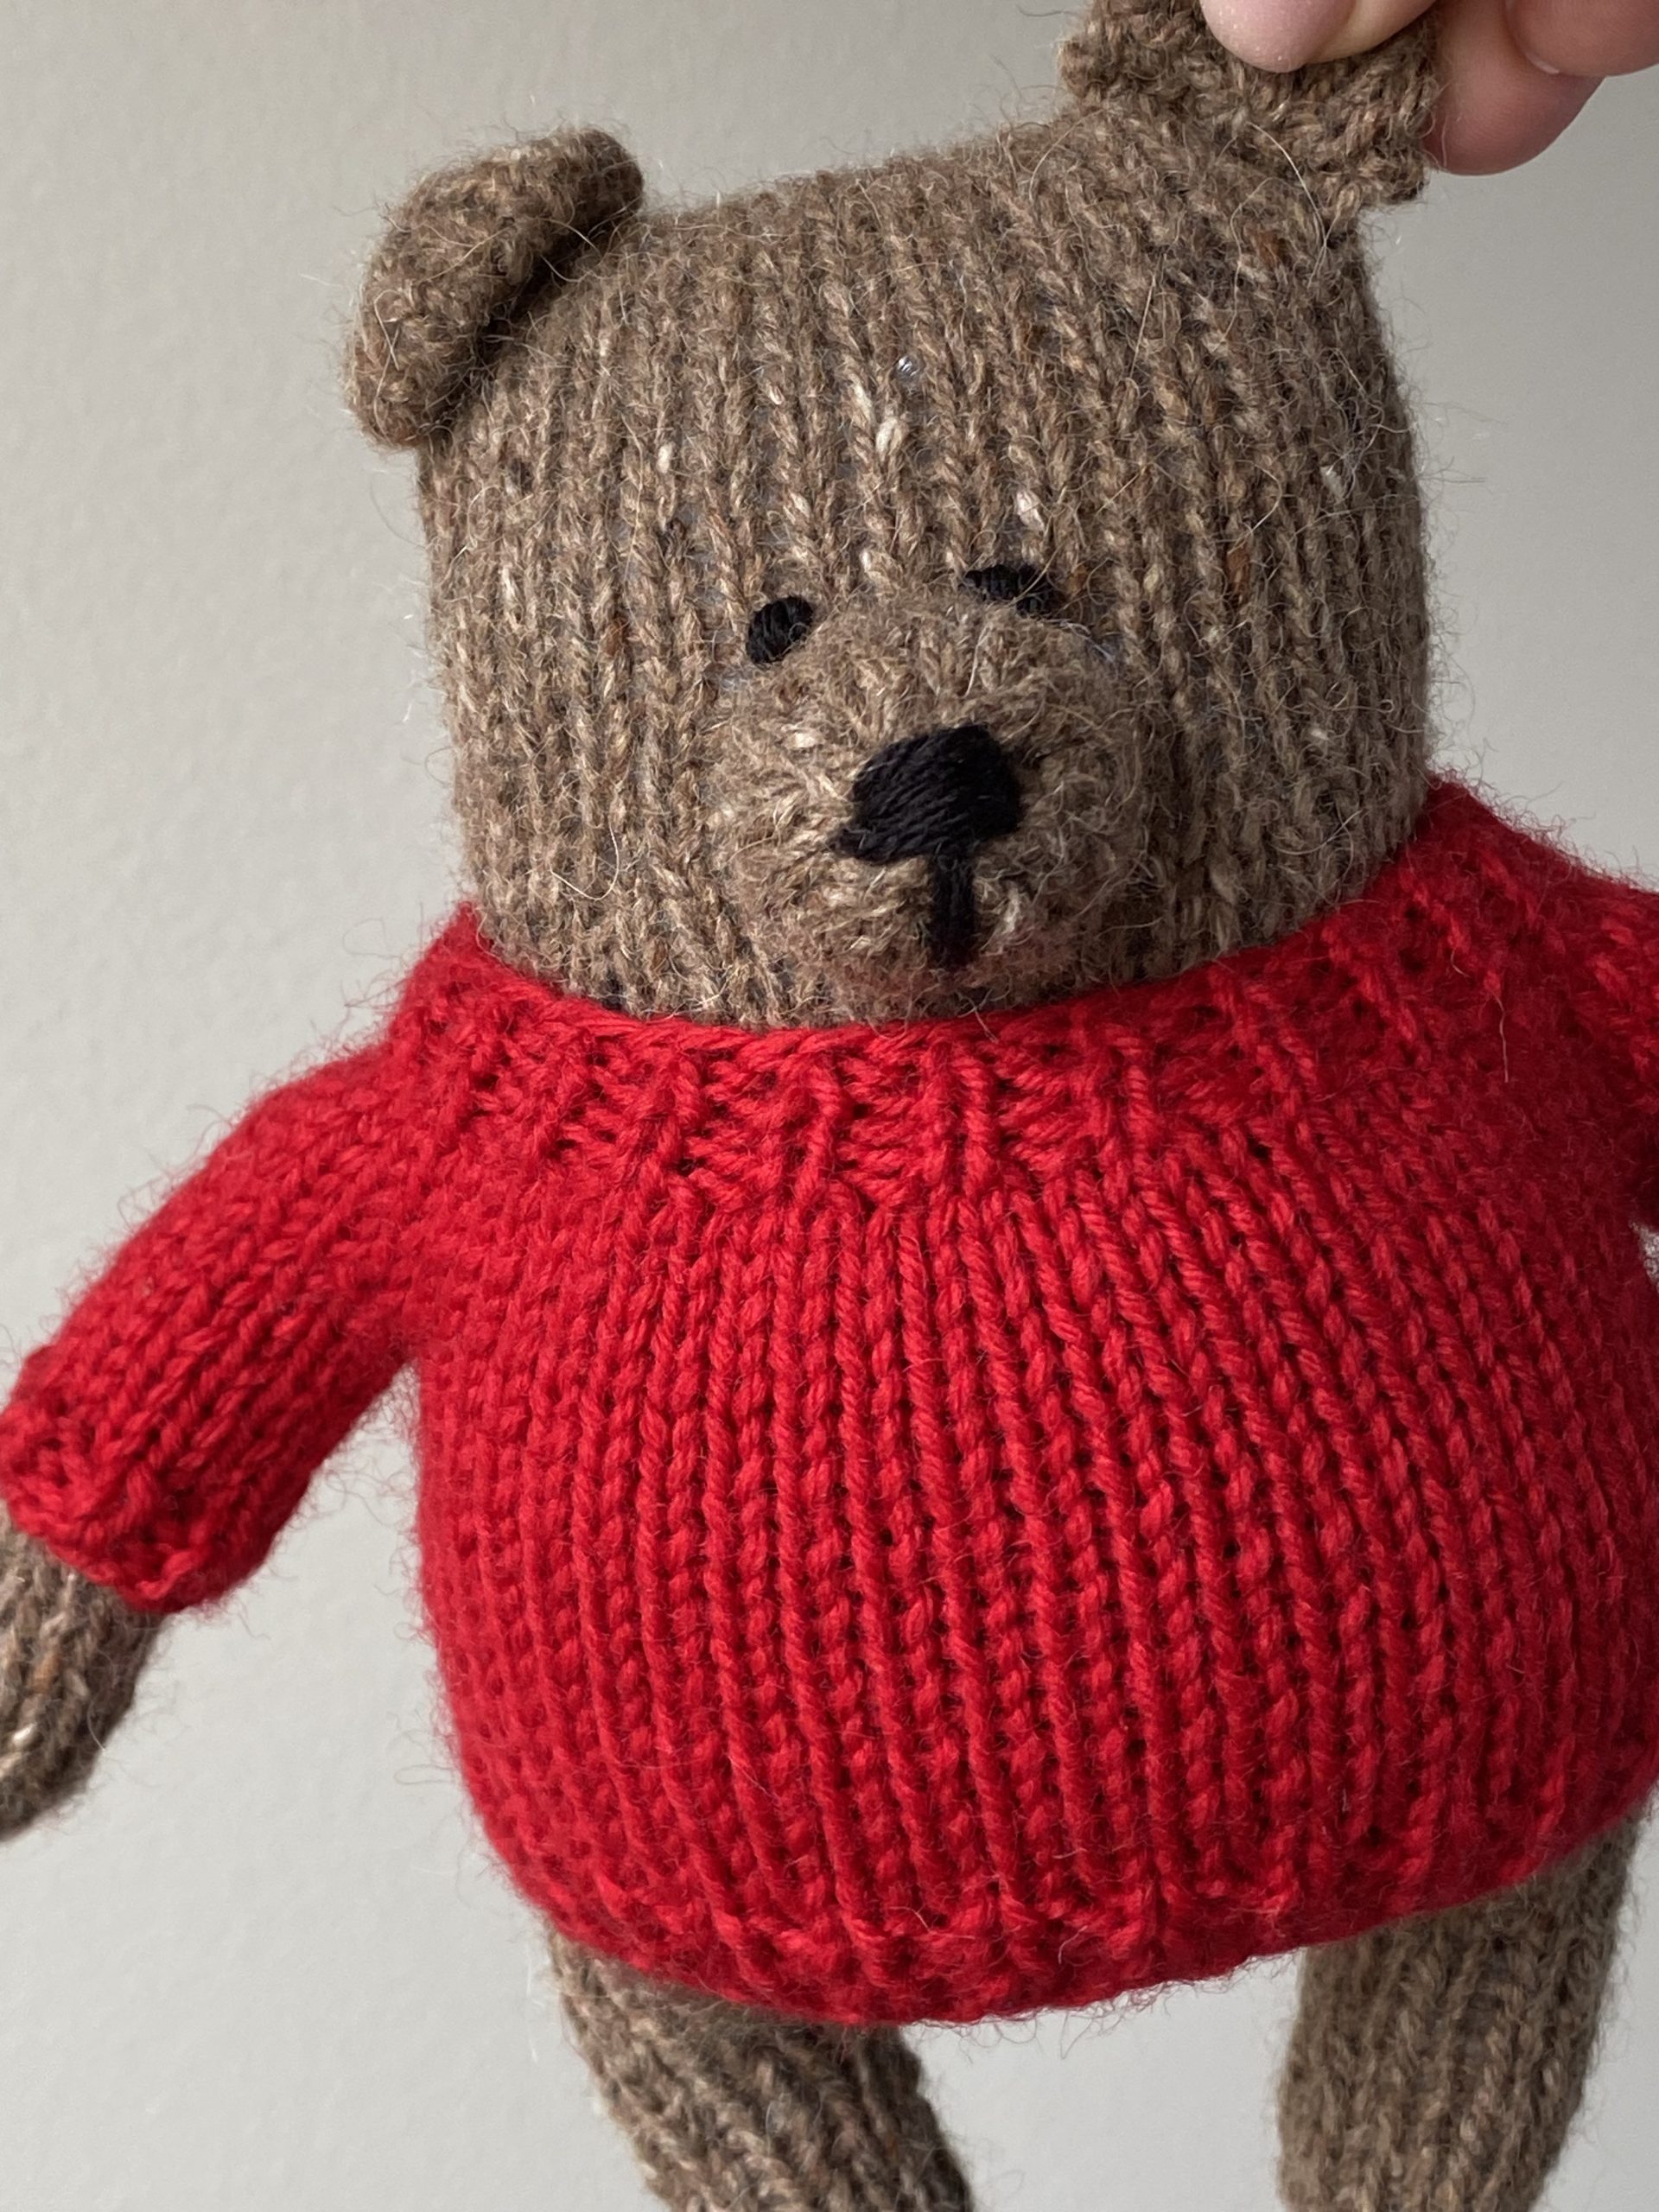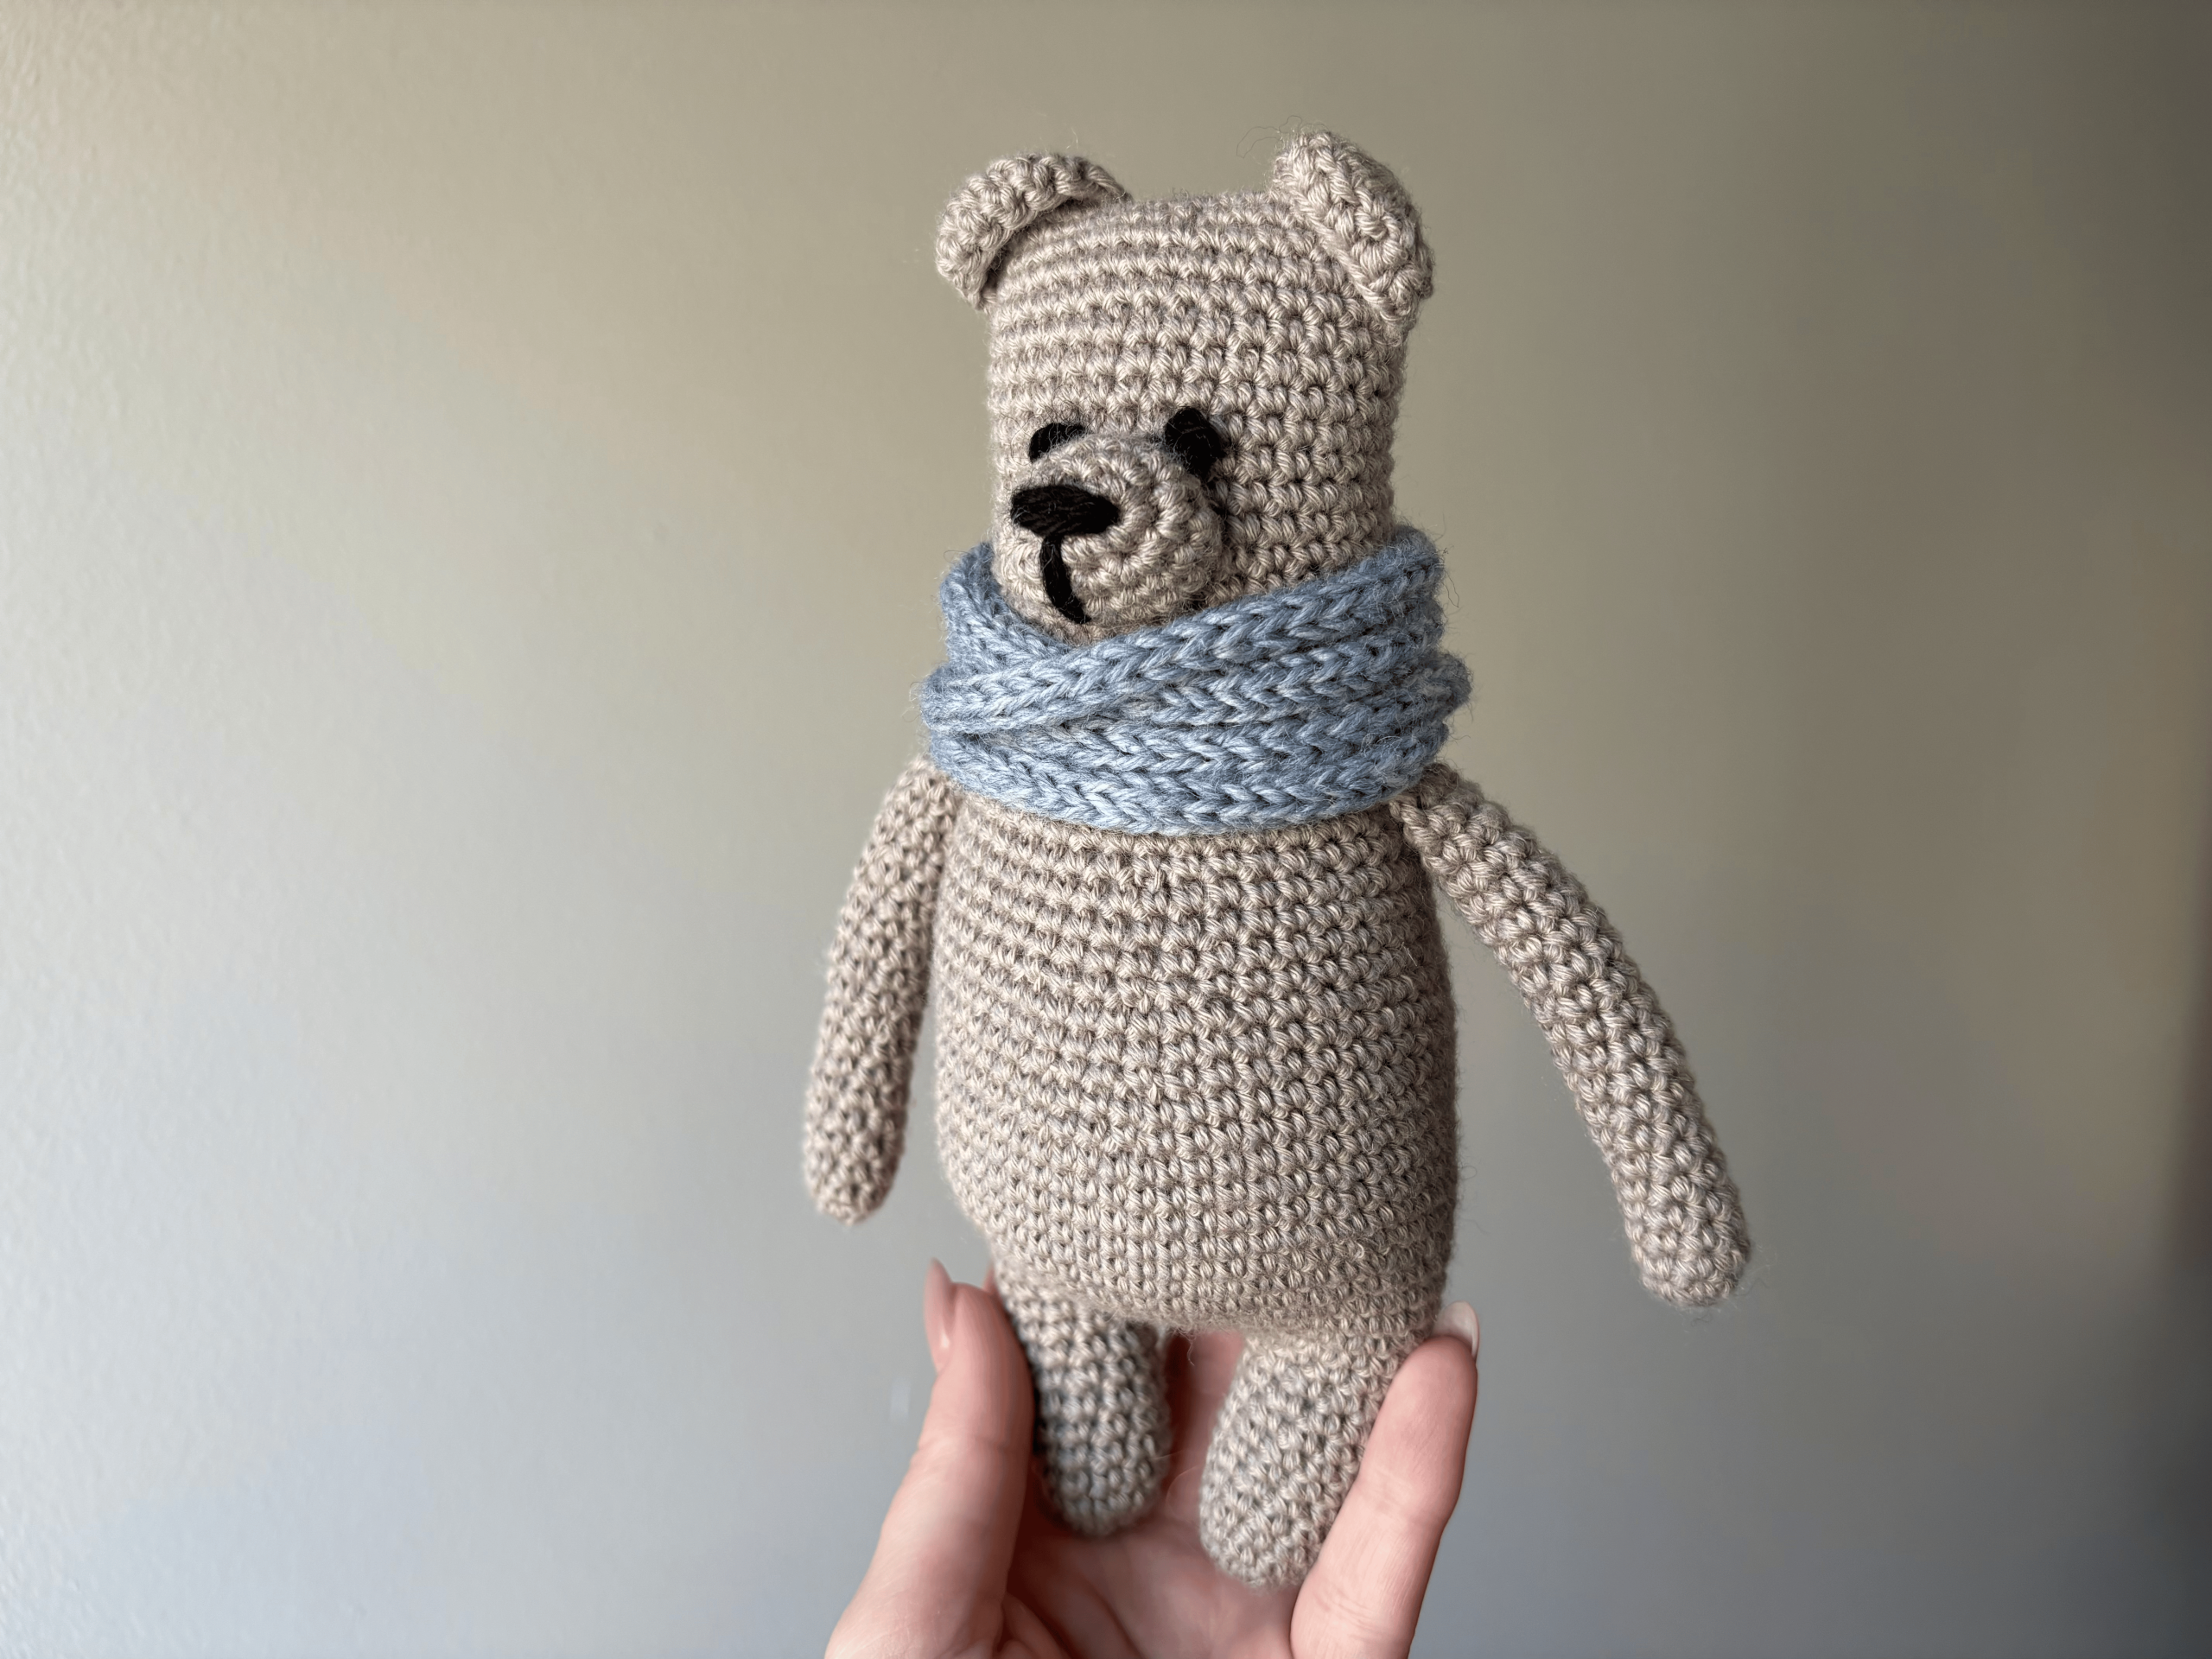
The bear is crocheted from the bottom up in continuous rounds. The arms are crocheted separately and joined to the body as you work. The muzzle and ears are crocheted separately and sewn on afterward. The eyes and nose are embroidered.
| Size: | The height of the toy may vary depending on the yarn used and the hook size. |
| Needles: | Use a hook 1.5 sizes smaller than recommended for the yarn. |
| Materials: | 50 g of yarn I use Drops Cotton Merino 50g/110 m and a 2.5 mm hook. |
Arms
Make Magic Ring, 4 SC
| Round 1: | [ inc ] x 4 – 8 sts |
| Round 2-20: | 8 SC |
Stuff the arms as you knit.
Fold the arm in half and crochet the 1st and 6th SC together, the 2nd and 5th SC together, and the 3rd and 4th SC together.
Break the yarn.
Crochet the second arm the same way.
Legs
Make Magic Ring, 6 SC
| Round 1: | [ inc ] x 6 – 12 sts |
| Round 2-9: | 12 SC |
Stuff the legs as you knit.
Break the yarn. Crochet the second leg in the same way, but do not break the yarn — you’ll continue crocheting the body with it.
Body
6 CH
| Round 1: | 12 SC (leg), 6 SC, 12 SC (leg), 6 SC – 36 sts |
| Round 2: | 36 SC |
| Round 3: | inc, 10 SC, [ inc ] x 3, 2 SC, [ inc ] x 3, 10 SC, inc, 6 SC – 44 sts |
| Round 4: | 44 SC |
| Round 5: | 15 SC, inc, 1 SC, inc, 2 SC, inc, 1 SC, inc, 21 SC – 48 sts |
| Rounds 6-7: | 48 SC |
| Round 8: | 1 SC, inc, 10 SC, inc, 16 SC, inc, 10 SC, inc, 7 SC – 52 sts |
| Rounds 9-13: | 52 SC |
| Round 14: | 22 SC, dec, 2 SC, dec, 24 SC – 50 sts |
| Round 15: | 50 SC |
| Round 16: | 21 SC, dec, 2 SC, dec, 23 SC – 48 sts |
| Rounds 17-18: | 48 SC |
| Round 19: | 10 SC, dec, 9 SC, dec, 2 SC, dec, 8 SC, dec, 11 SC – 44 sts |
| Rounds 20-22: | 44 SC |
| Round 23: | [ 9 SC, dec ] x 4 – 40 sts |
| Round 24: | 40 SC |
| Round 25: | In this round, the arms are joined to the body. 9 SC, 4 SC (arm+body), 16 SC, 4 SC (arm+body), 7 SC |
| Round 26: | 40 SC |
| Round 27: | [ 4 SC, dec, 4 SC ] x 4 – 36 sts |
| Rounds 28-30: | 36 SC |
| Round 31: | [ 7 SC, dec ] x 4 – 32 sts |
| Rounds 32-44: | 32 SC |
| Round 45: | [ 3 SC, dec, 3 SC ] x 4 – 28 sts |
| Round 46: | 24 SC (Do not crochet the last 4 sts of the round) |
Stuff the bear. Cut the yarn, leaving a 30–35 cm tail. Fold the top of the bear flat and sew it closed. Fasten off and weave the yarn end inside.
Muzzle
5 CH
| Round 1: | 1 SC in 2nd stitch from hook, 2 SC, 3 SC in the same stitch, 2 SC, inc – 10 sts |
| Round 2: | inc, 2 SC, [ inc ] x 3, 2 SC, [ inc ] x 2 – 16 sts |
| Rounds 3-4: | 16 SC |
Break the yarn 30-35 cm.
Ears
Make Magic Ring
9 DC, 1 CH, turn
9 SC
Break the yarn 30-35 cm.
Crochet the second ear in the same way.
Finishing
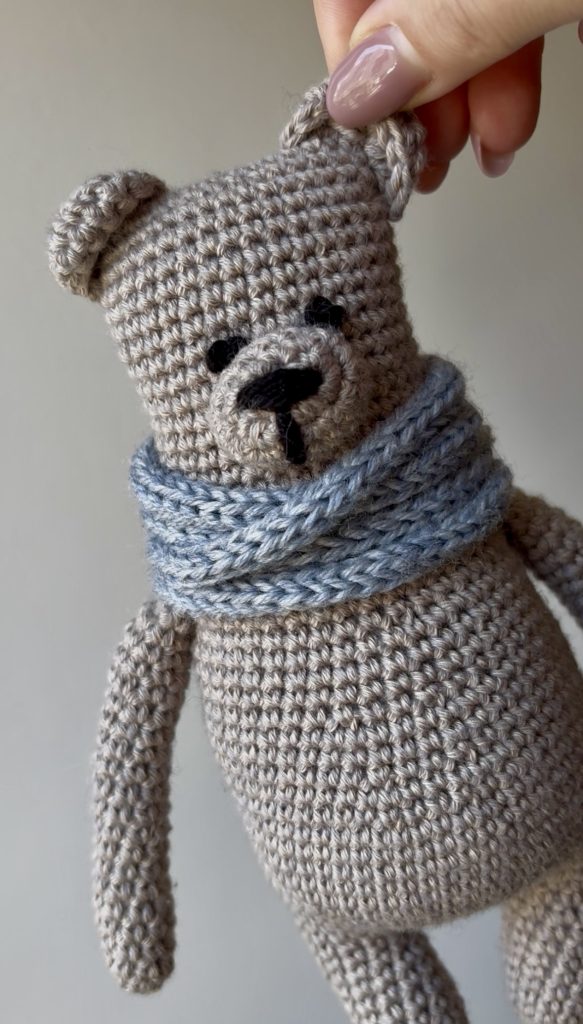
Sew on the muzzle and ears. Stuff the muzzle a little. Embroider the bear’s eyes and nose.
Abbreviations
| SC | single crochet |
| DC | double crochet |
| CH | chain |
| inc | increase ( 2 single crochet in the same stitch) |
| dec | decrease (single crochet 2 stitches together) |
| sts | stitches |