Free Newborn knitting patterns
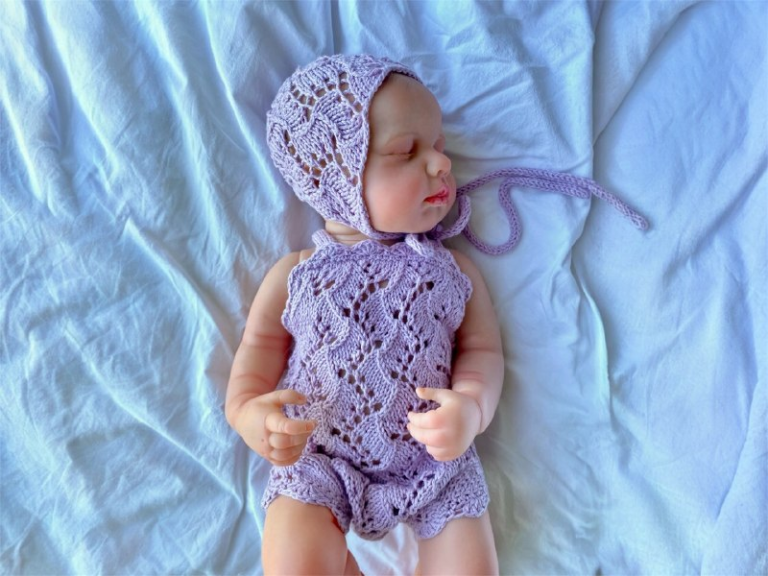
Olivia Set: Knitted Cap & Bodysuit Pattern for Newborns
A step-by-step guide to knitting the Olivia newborn set, featuring a classic bodysuit and a sweet matching cap. Designed specifically …
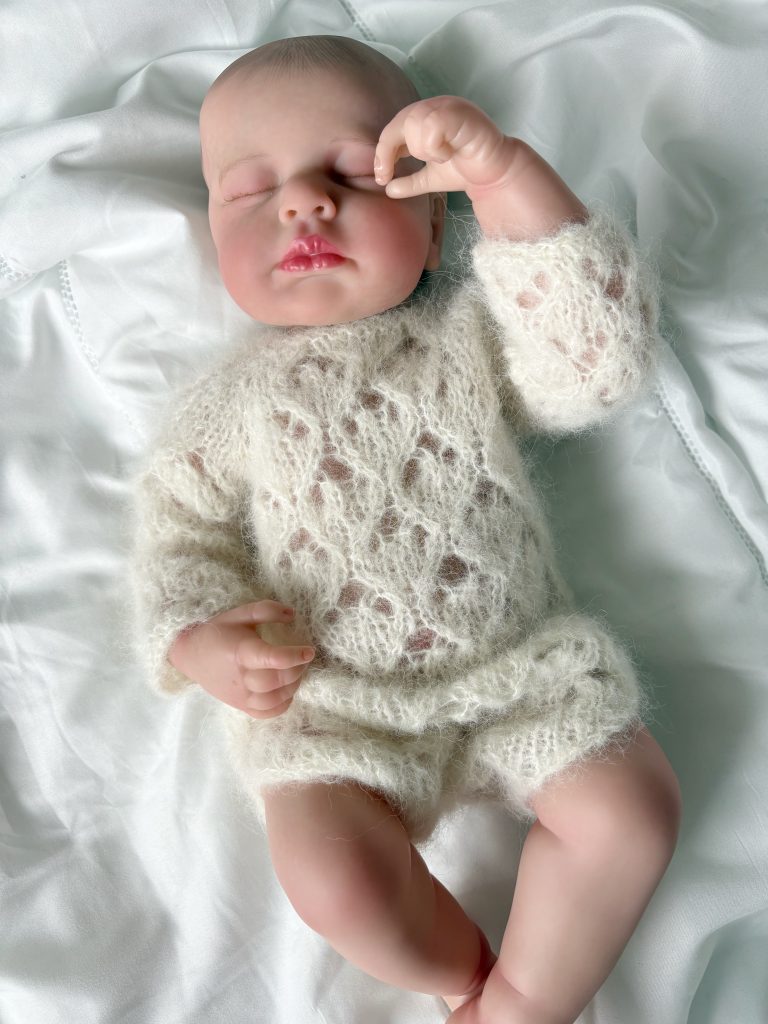
“Melissa” Alpaca Newborn Bodysuit: A Free Knitting Guide
This delicate bodysuit is worked from the top down in a honeycomb lace pattern. The yoke is worked flat with …
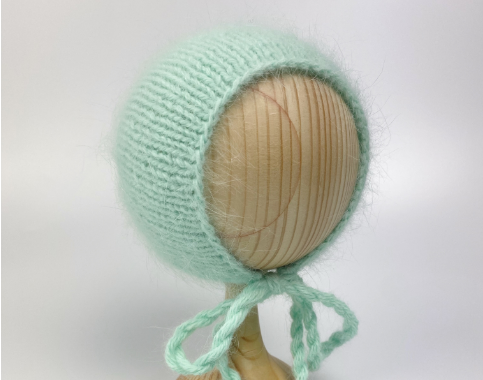
Basic Cap Pattern
Knitting for newborns is always a joy 🧶✨. This Basic Cap Pattern is a simple, quick project perfect for beginners …
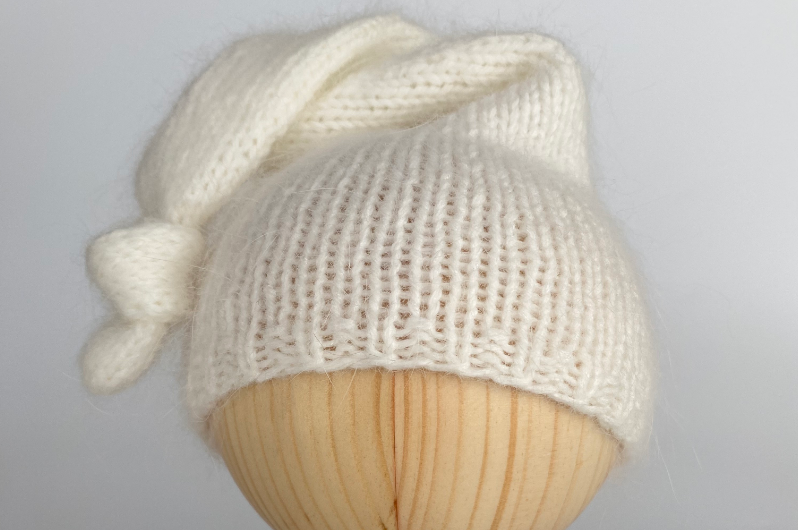
Node Hat Pattern
Looking for a sweet and simple knitting project? The Node Hat is perfect for newborns (about 36 cm head circumference) …
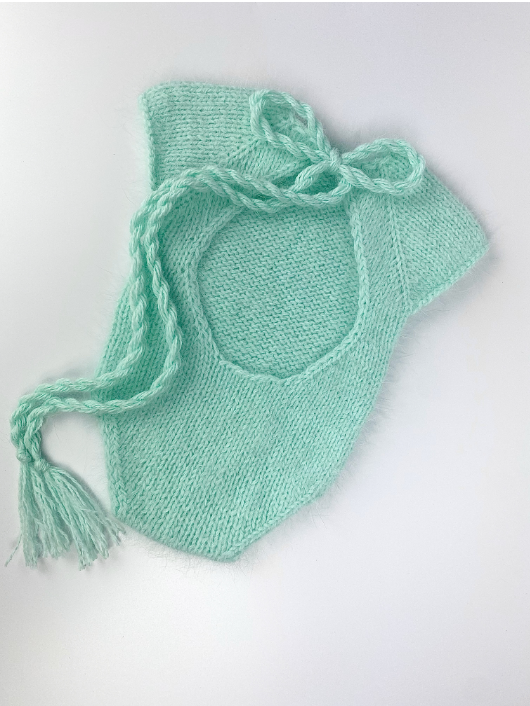
Newborn Body with an Open Back Pattern
Discover the perfect Newborn Body with an Open Back Pattern – a cozy, stylish, and practical design for easy changes …