Knitting patterns
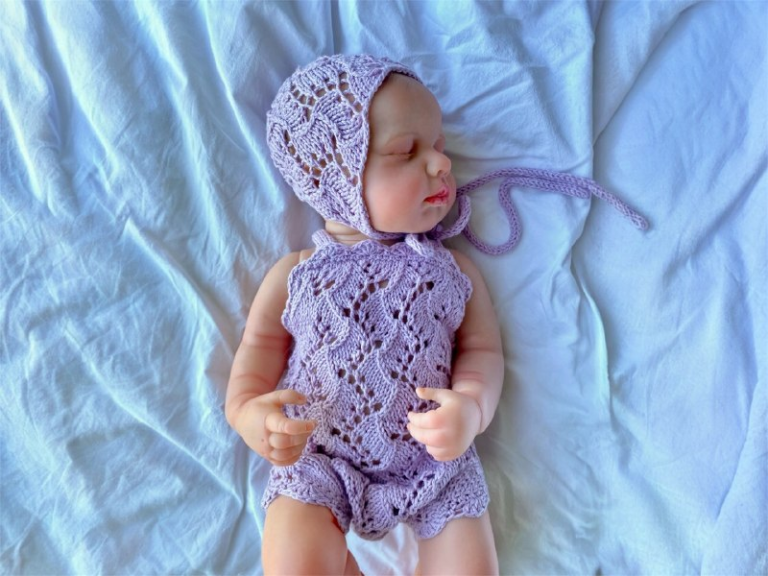
Olivia Set: Knitted Cap & Bodysuit Pattern for Newborns
A step-by-step guide to knitting the Olivia newborn set, featuring a classic bodysuit and a sweet matching cap. Designed specifically …
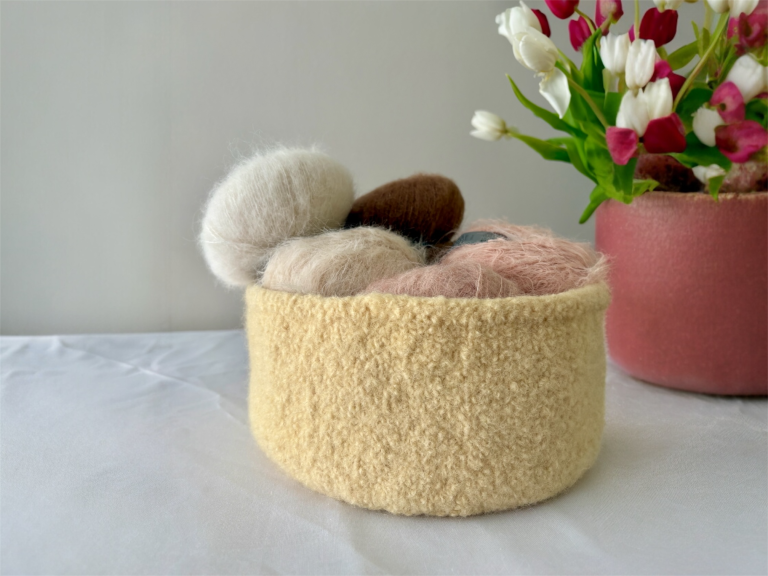
Simple Felted Basket Free Knitting Pattern
This basket is quick and easy to knit, perfect for beginners or anyone who wants a relaxing project. Work it …
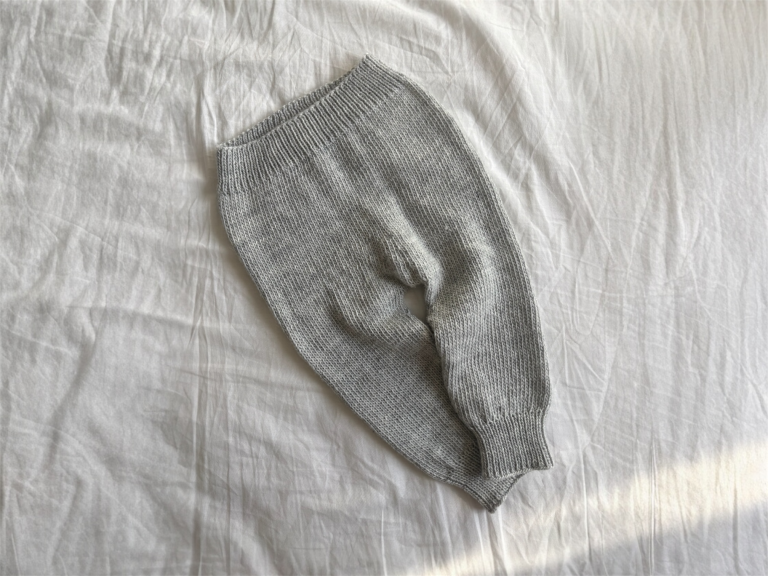
March Baby Pants Free knitting Pattern
Size:1–3 months (hip circumference: 47 cm )Measurements:Pants width: 24 cmPants length (measured at the front): 37 cmLeg length (measured along …
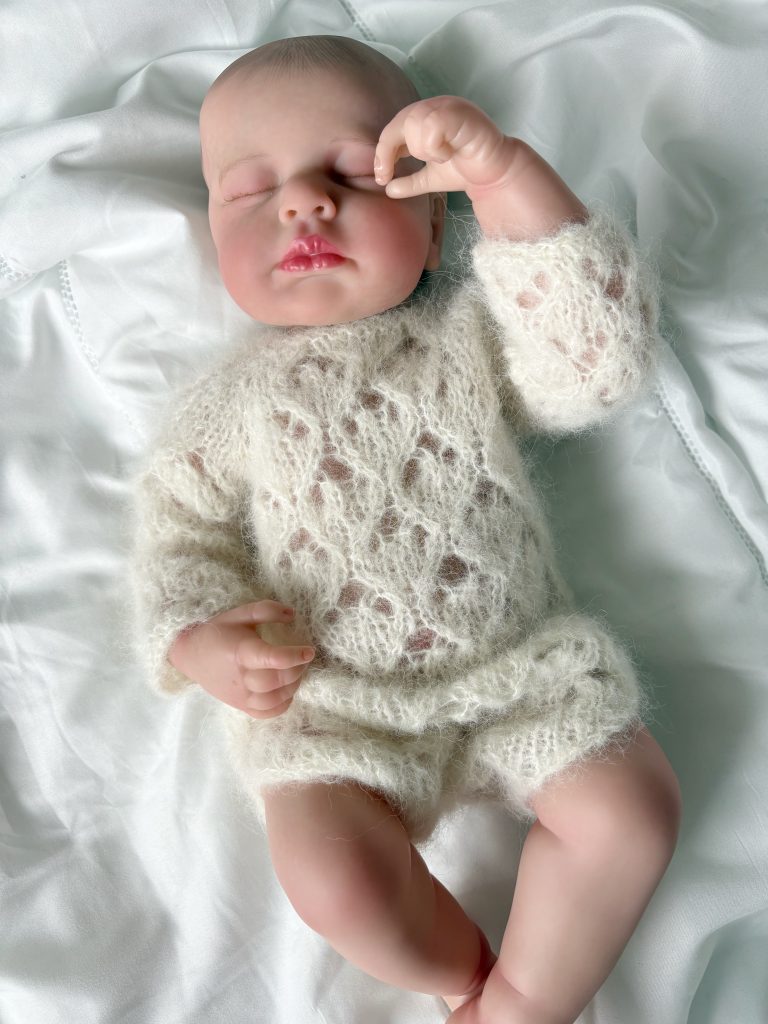
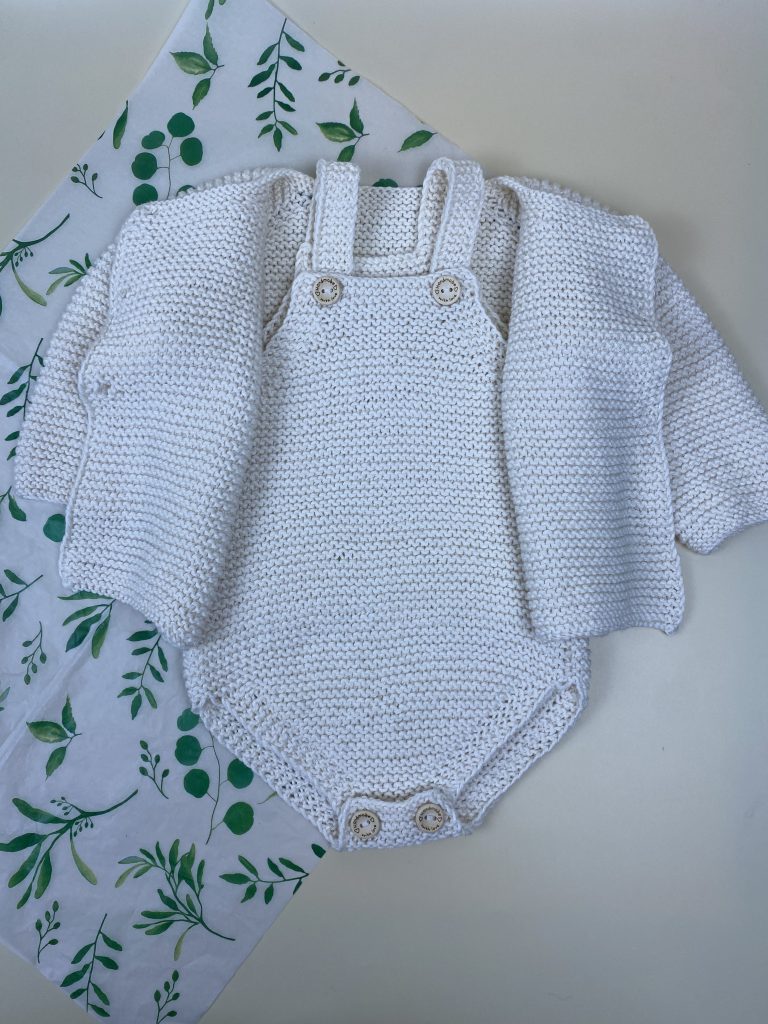
“Melissa” Alpaca Newborn Bodysuit: A Free Knitting Guide
This delicate bodysuit is worked from the top down in a honeycomb lace pattern. The yoke is worked flat with …
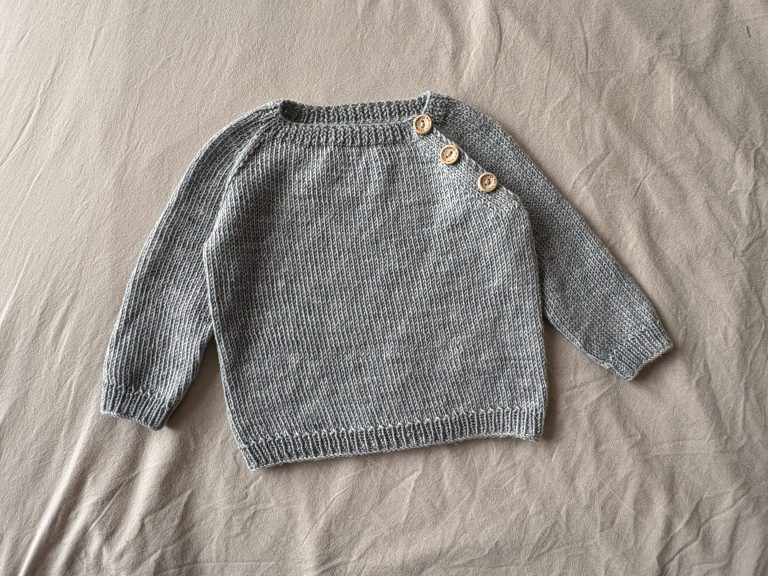
January Baby Sweater Free Knitting Pattern
A super basic, cozy baby sweater pattern that’s free for all! Roomy and comfortable for little ones, this ‘January’ pullover …
«Lines» Baby Bodysuit Knitting Pattern (1–3 months)
A simple, basic bodysuit knitting pattern for babies aged 1–3 months. Worked from the bottom up with easy-to-follow instructions for …