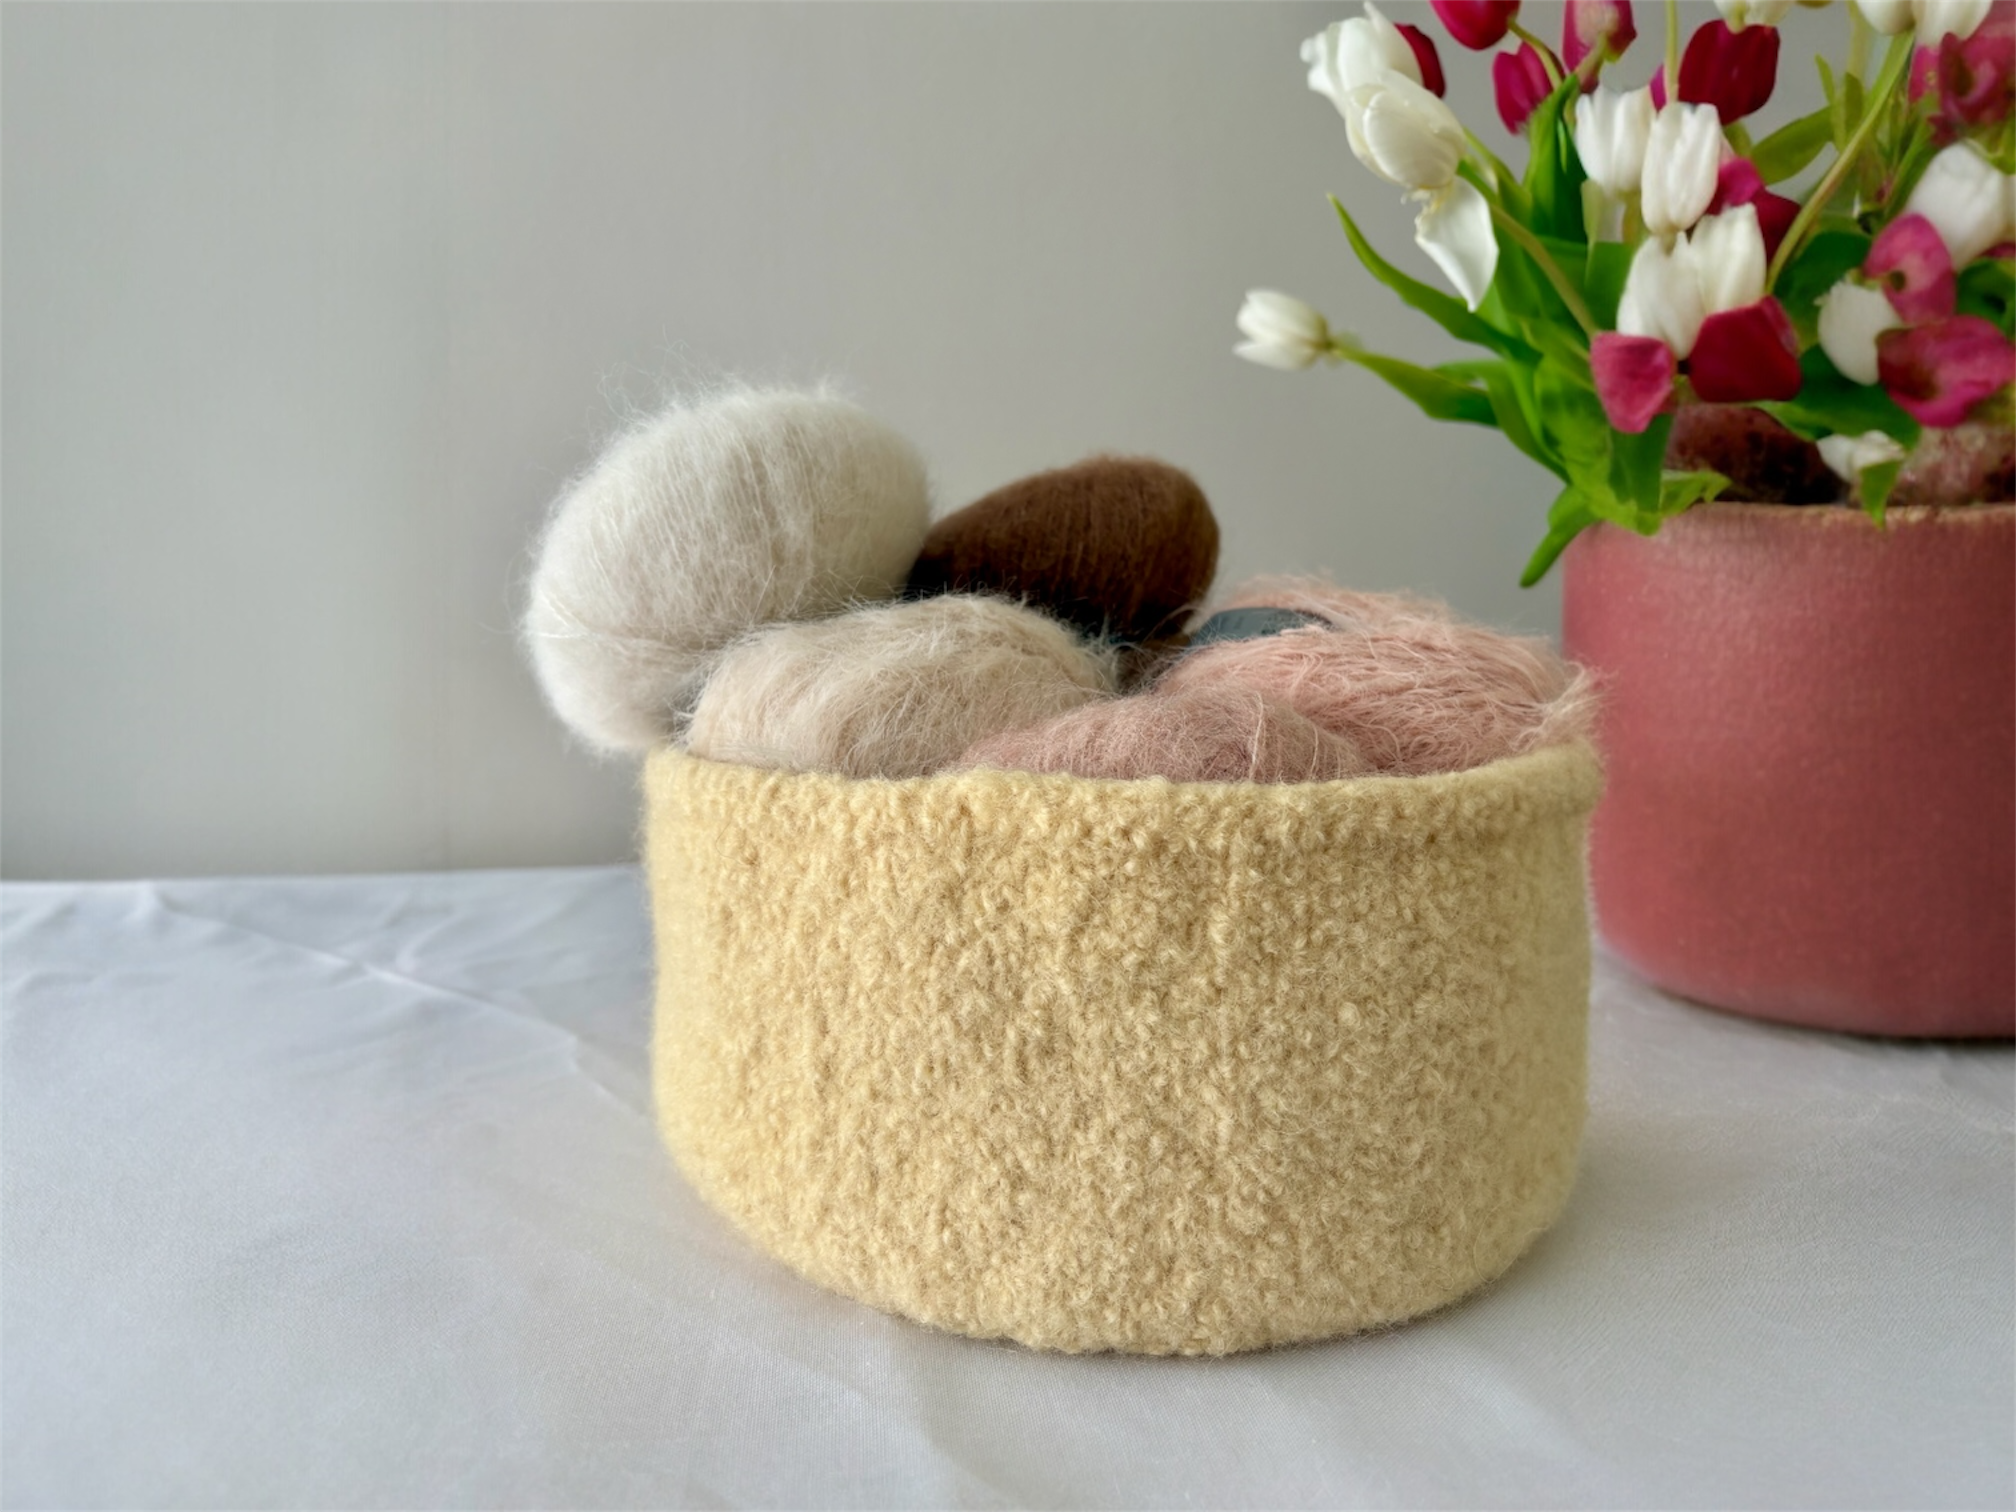
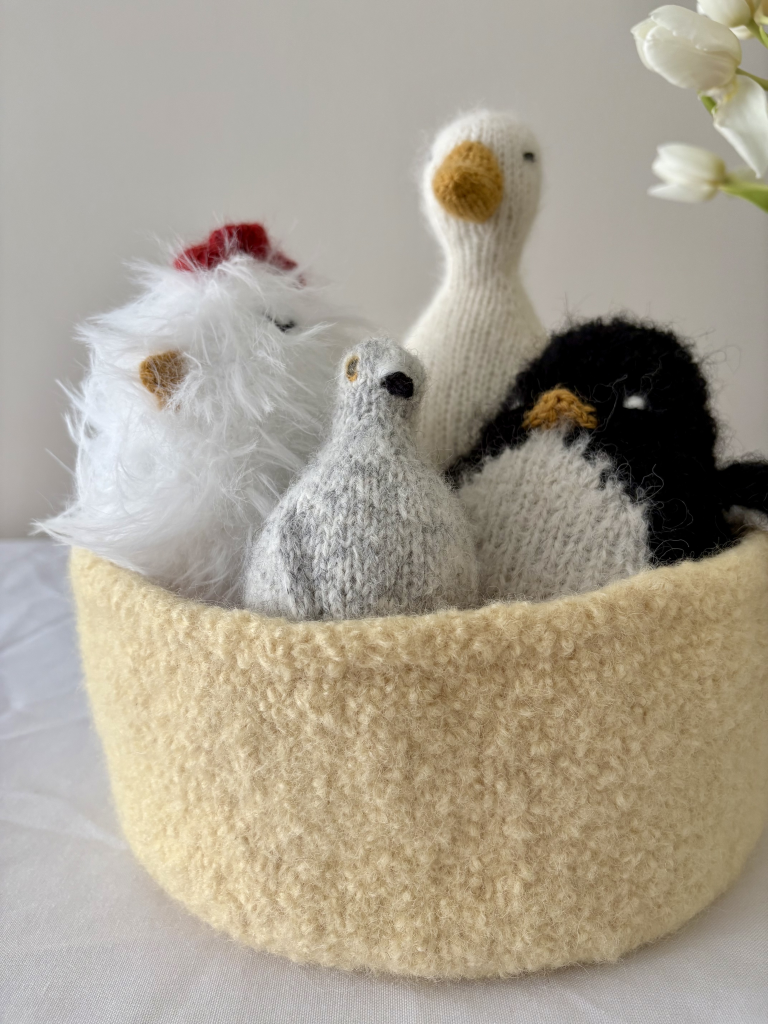
The basket is worked in the round from the bottom up in stockinette stitch. It is then felted in the washing machine.
| Measurements before felting: | Diameter: approx. 34 cm Height: approx. 22 cm |
| Measurements after felting: | Diameter: approx. 24 cm Height: approx. 12 cm |
| Circular needles: | 8.0 mm / 40 and 60 cm |
| Materials: | 250 g Drops Snow (50 g / 50 m) or a similar yarn |
Cast on 8 sts on 3.0 mm circular needles using your preferred cast-on method (e.g. long-tail cast-on). Join to work in the round.
| Round 1: | [ k 1, make 1 yarn over ] x 8 – 16 sts |
| Round 2: | knit 16 sts Work the yarn overs twisted to avoid holes. |
| Round 3: | [ k 1, M1L, k 1 ] x 8 – 24 sts |
| Round 4: | knit 24 sts |
| Round 5: | [ k 3, M1L ] x 8 – 32 sts |
| Round 6: | knit 32 sts |
| Round 7: | [ k 2, M1L, k 2 ] x 8 – 40 sts |
| Round 8: | knit 40 sts |
| Round 9: | [ k 5, M1L ] x 8 – 48 sts |
| Round 10: | knit 48 sts |
| Round 11: | [ k 3, M1L, k 3 ] x 8 – 56 sts |
| Round 12: | knit 56 sts |
| Round 13: | [ k 7, M1L ] x 8 – 64 sts |
| Round 14: | knit 64 sts |
| Round 15: | [ k 4, M1L, k 4 ] x 8 – 72 sts |
| Round 16: | knit 72 sts |
| Round 17: | [ k 9, M1L ] x 8 – 80 sts |
| Round 18: | knit 80 sts |
| Round 19: | [ k 5, M1L, k 5 ] x 8 – 88 sts |
| Round 20: | knit 88 sts |
| Round 21: | [ k 11, M1L ] x 8 – 96 sts |
| Round 22: | knit 96 sts |
| Round 23: | [ k 6, M1L, k 6 ] x 8 – 104 sts |
| Round 24: | knit 104 sts |
| Round 25: | [ k 13, M1L ] x 8 – 112 sts |
| Round 26: | knit 112 sts |
| Round 27: | [ k 7, M1L, k 7 ] x 8 – 120 sts |
| Round 28: | knit 120 sts |
| Round 29: | [ k 15, M1L ] x 8 – 128 sts |
| Round 30: | knit 128 sts |
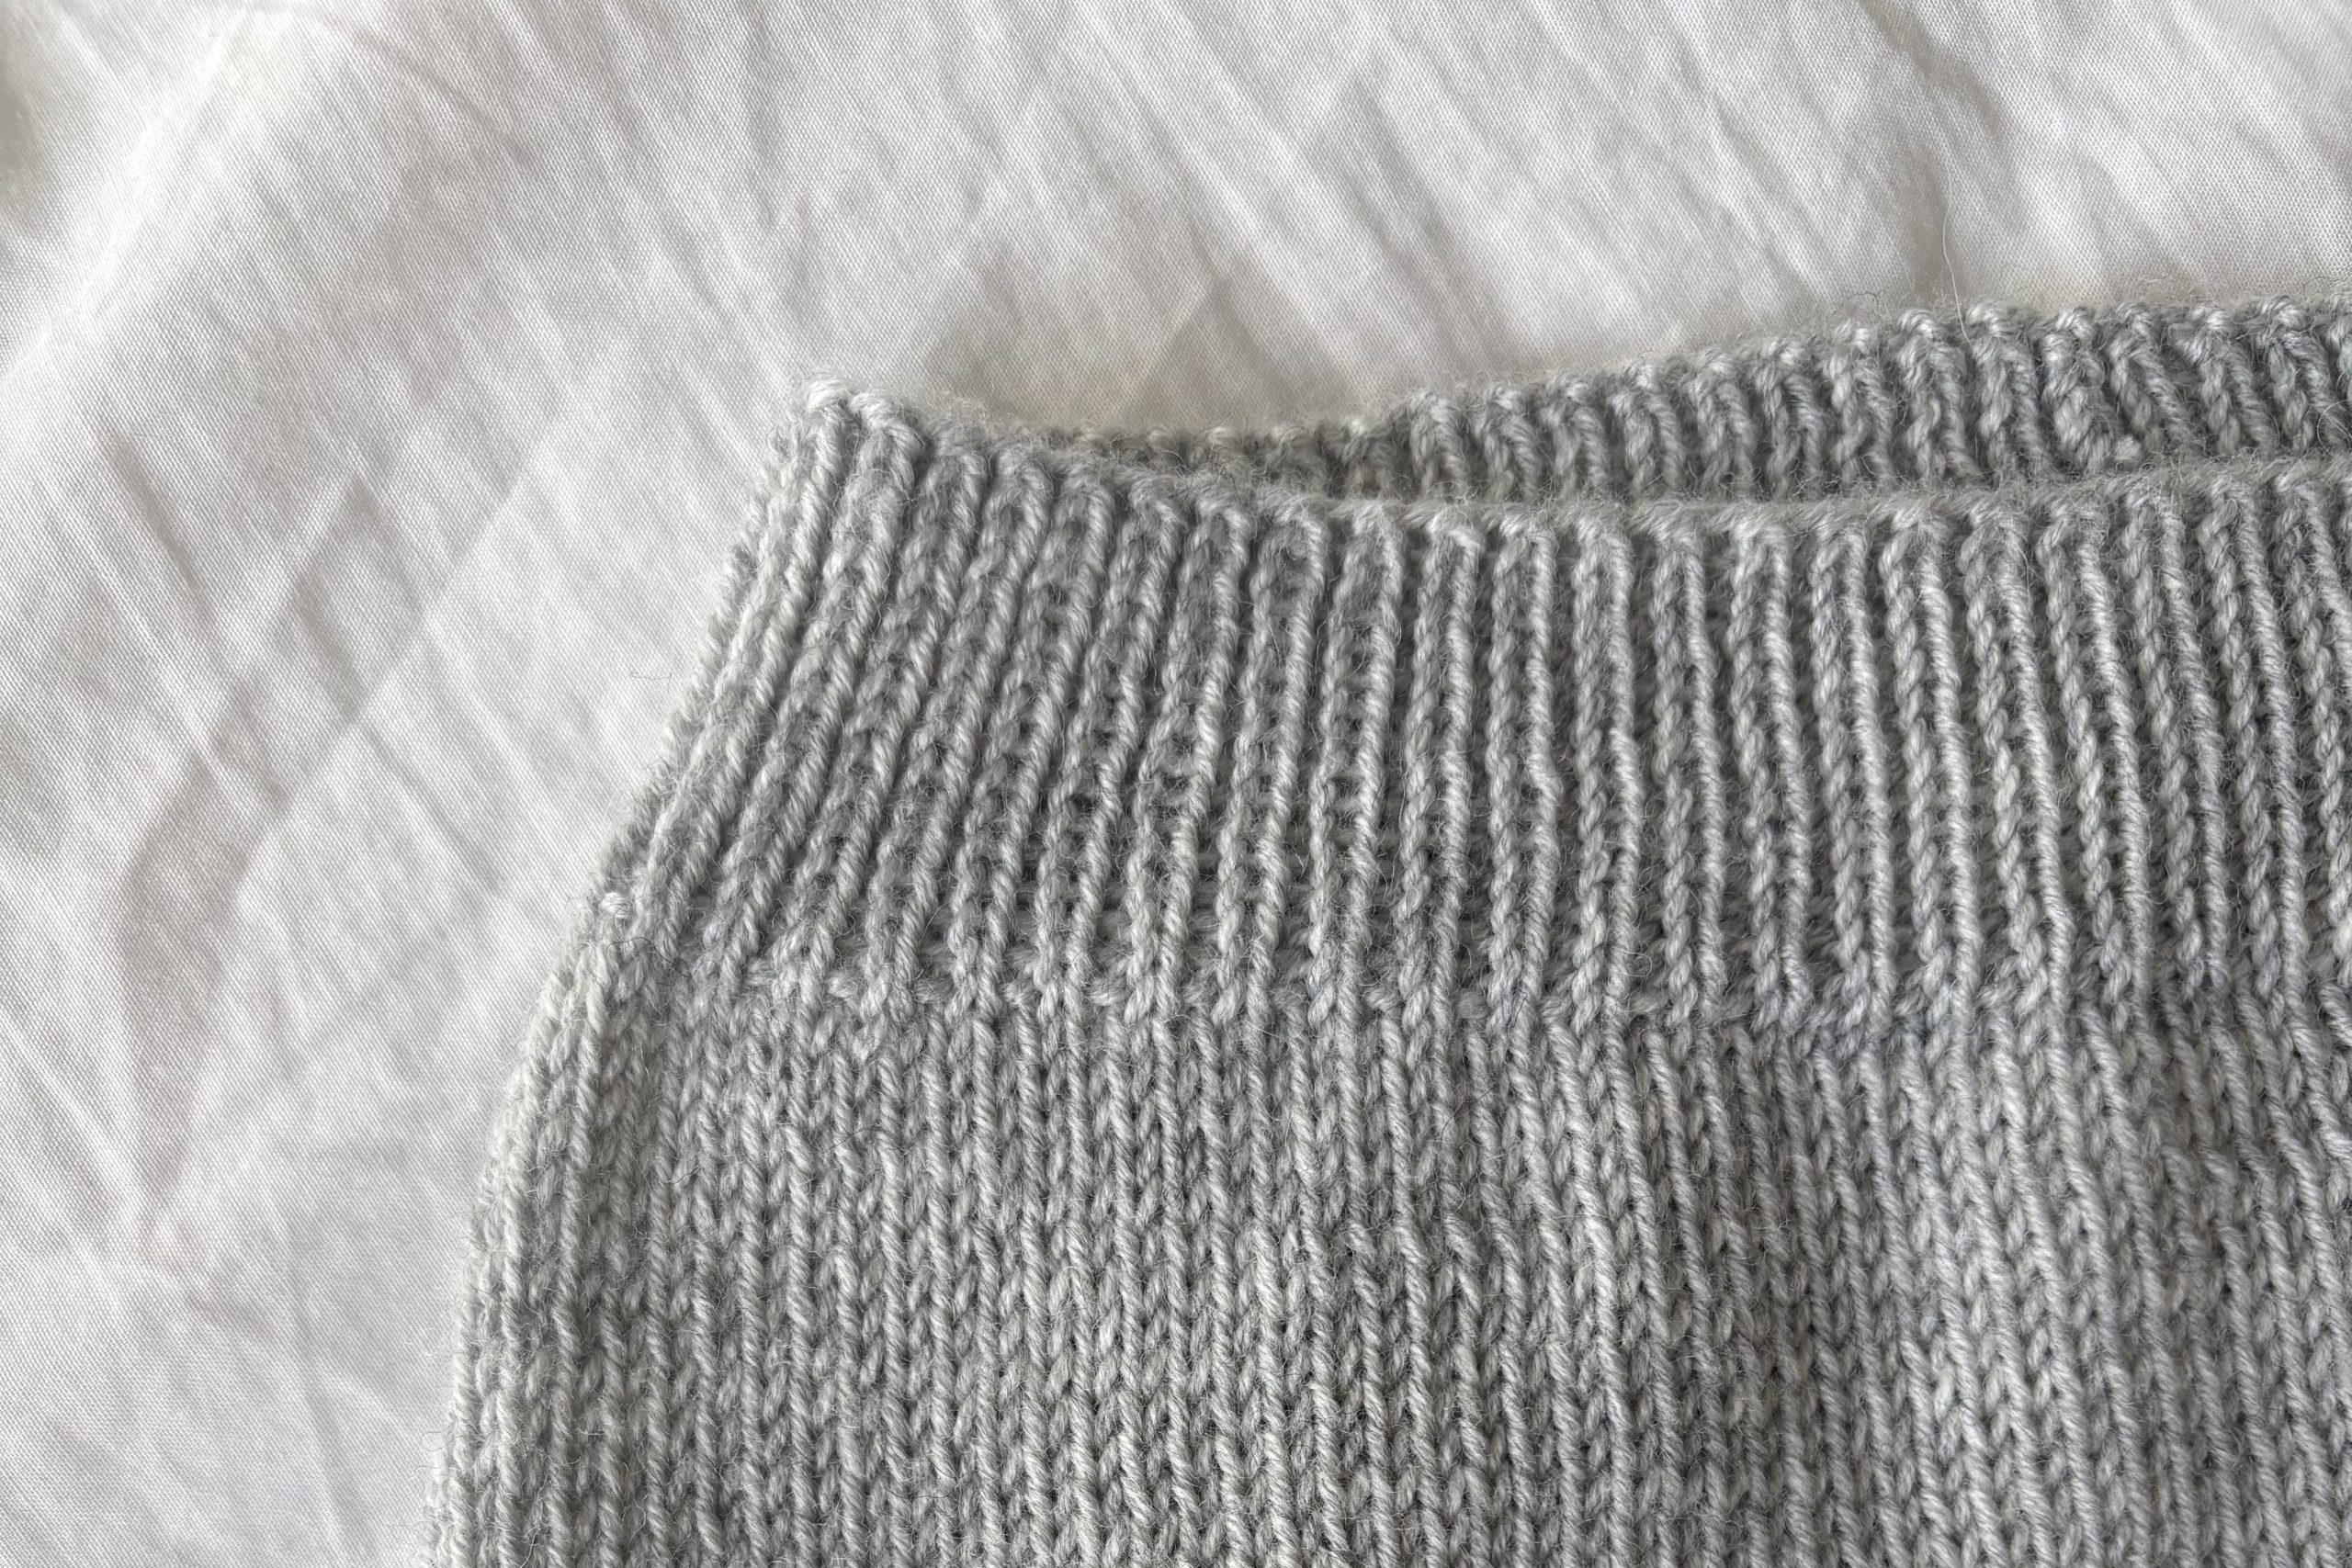
| Round 31: | purl 128 sts |
Pull the lower end of the yarn through the 8 stitches, tighten and secure the yarn, then weave in the end on the inside.
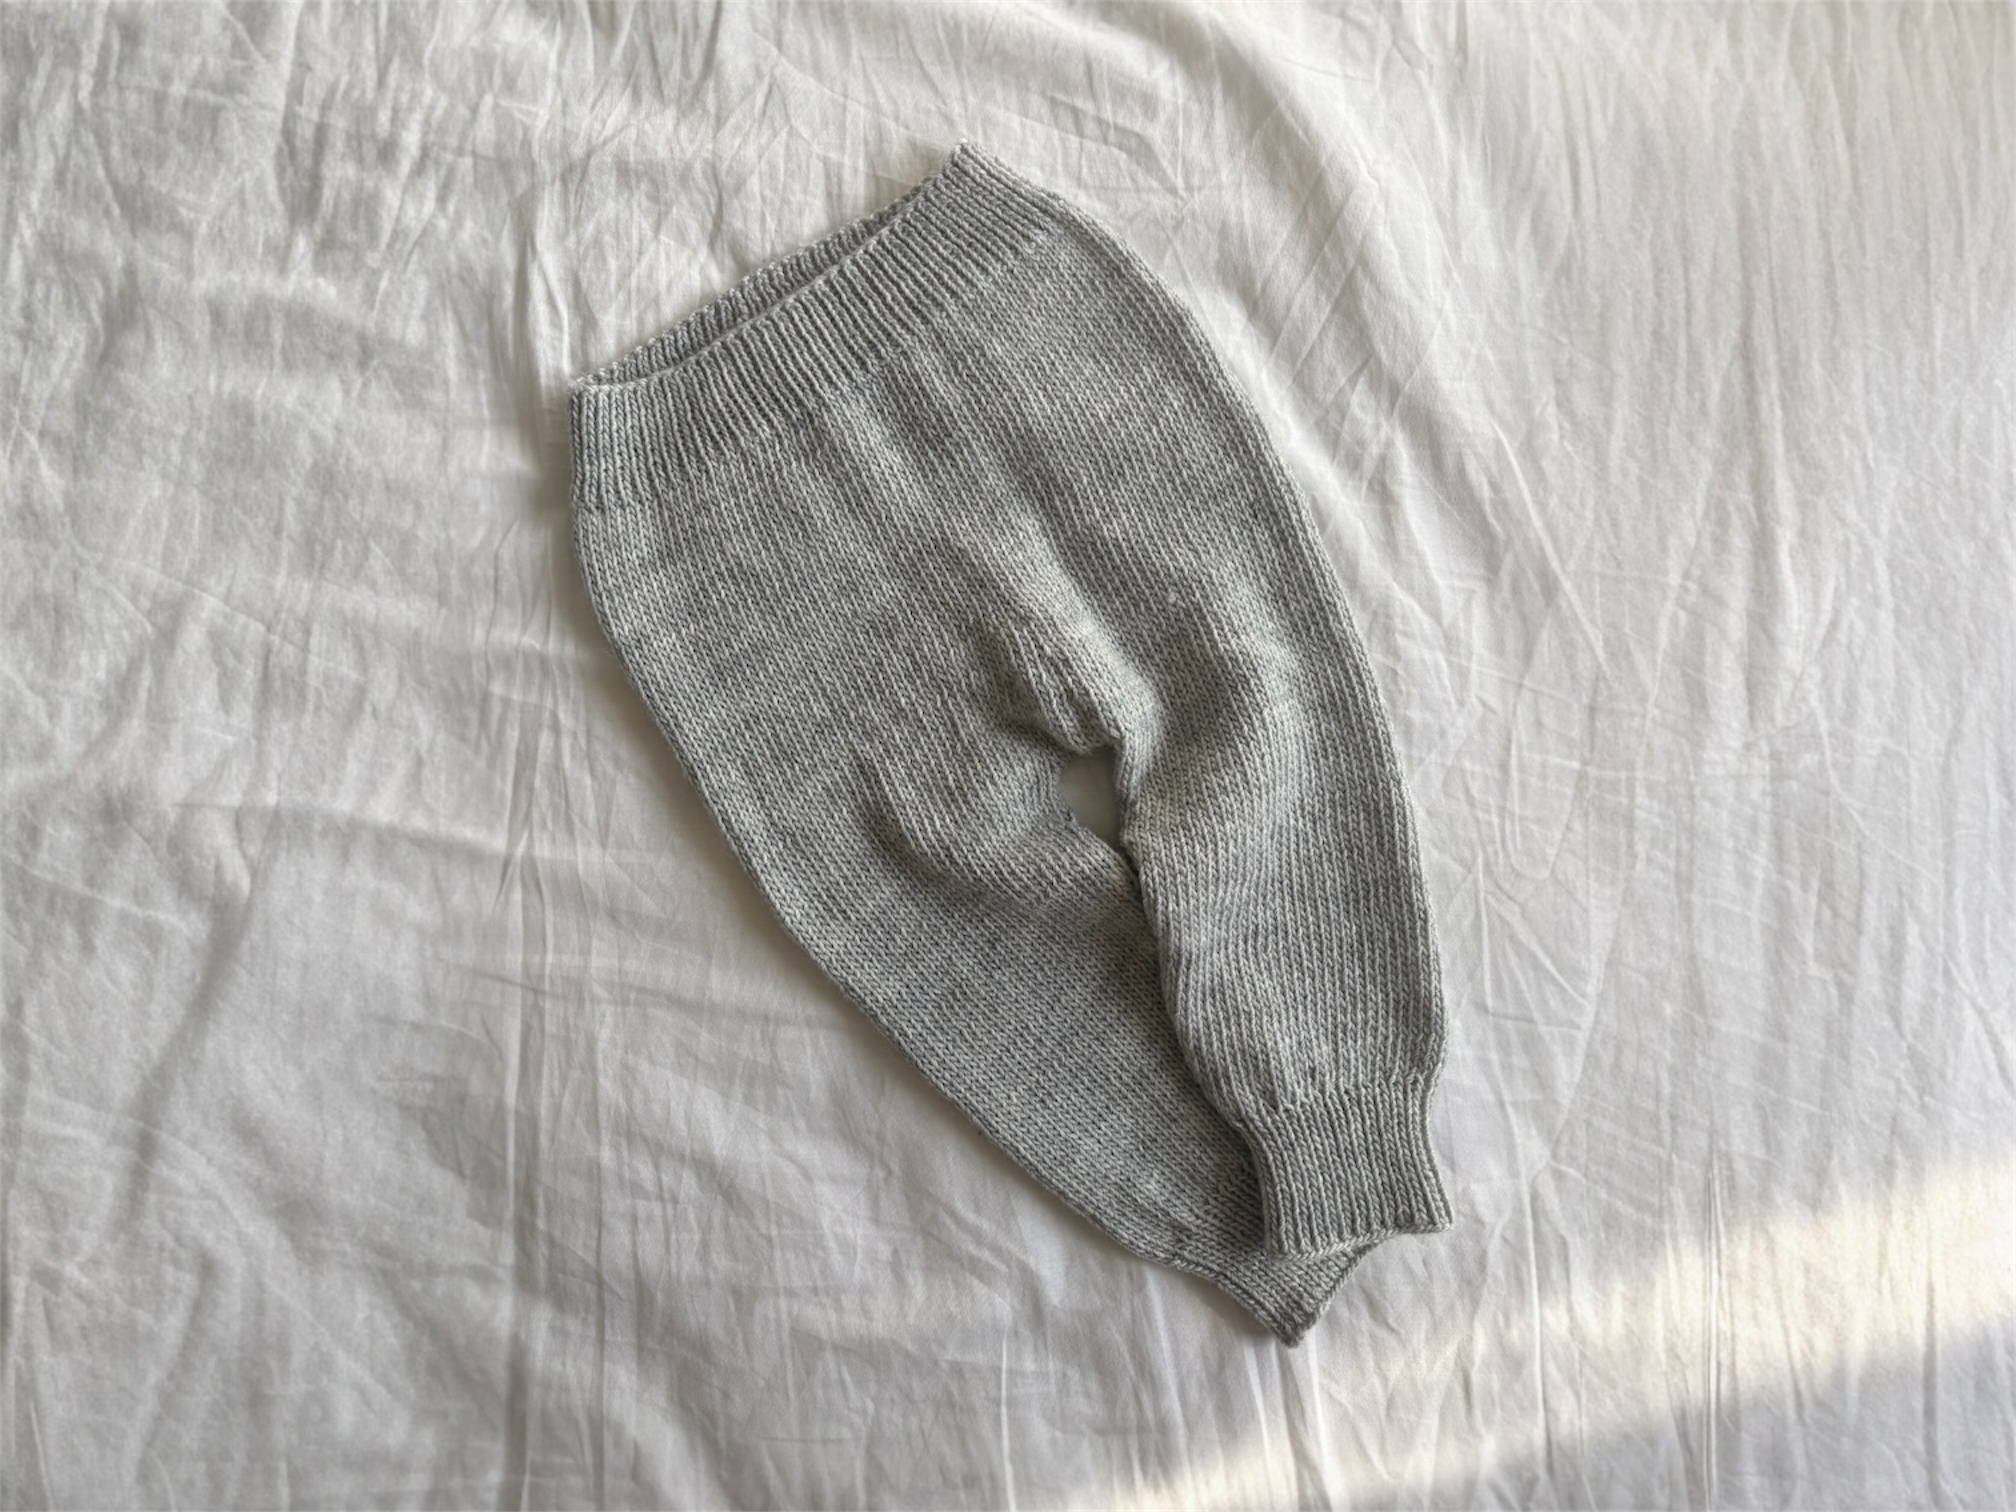
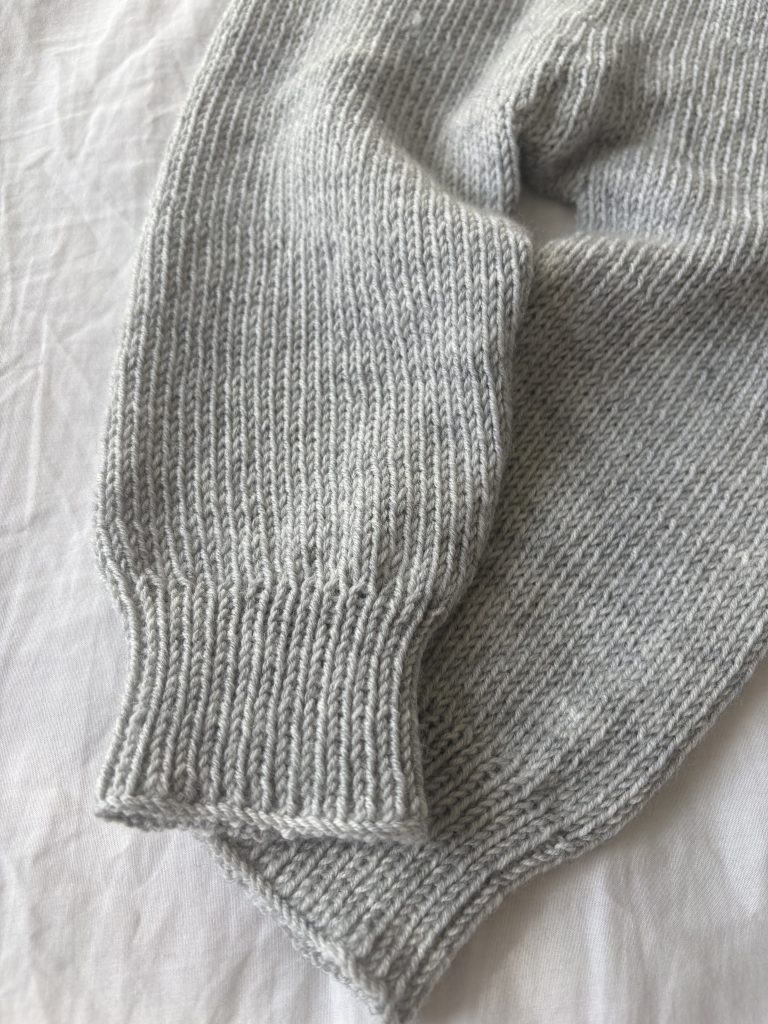
Work 20 cm in the round in stockinette stitch. Then knit 1 round of purl stitches and bind off using your preferred bind-off method.
Now it’s time to felt the basket in the washing machine.
Place the basket in the washing machine and run a regular wash cycle of about 40 minutes (do not use the wool programme).
Wash at 40°C without pre-wash. You can add detergent if you like, but it’s optional.
After washing, reshape the basket while it is still wet and let it dry completely.
If the basket is not felted enough after the first wash, you can simply felt it again.
If it shrinks a little too much, you can gently stretch it to the desired size while it is still wet.
Like this pattern?
Consider buying me a coffee